Achieving flawlessly smooth walls is an art, and we’re here to give you all the secrets to mastering it.

Achieving flawlessly smooth walls is an art, and we’re here to give you all the secrets to mastering it. From all the essential tools to a step-by-step wallpapering guide, this is everything you need to know if you’re wondering how to get your walls smooth, whether you’re a seasoned DIY enthusiast or a beginner embarking on your first papering project.
How to Smooth Walls Without Plastering
Double Lining
This technique uses two layers of lining paper, a plain wallpaper that acts as a base for other paper to sit on, much like a base coat of primer paint. These are applied to the surface of the wall before the actual wallpaper is hung, helping to create a smooth surface and concealing any surface imperfections that the actual wall might have.
Double lining your walls also helps to enhance the adhesion of your chosen wallpaper, as well as add extra stability to the wall surface, enhancing the lifespan of your favourite print.
Padded Wall Liners
Similar to lining paper, padded wall liners are an extra thick type of paper used to hide imperfections on a wall by creating an added barrier between its surface and the decorative wallpaper. Also referred to as wallpaper with a padded backing or insulating lining paper, these add insulation, hide imperfections, and create a soft, luxurious feel to your walls without any of the fuss of sanding or filling, and are a great answer to the problem of how to smooth out bumpy walls in particular.
Wall Smoothing Primers
Also known as high-build or filler primers, these are specialised primers designed to create a smooth and even surface on walls before the decorative wallpaper is applied.
The primer fills in any imperfections and irregularities the wall might have, and are particularly handy if you’re dealing with an older house or room that houses cracks, dents, or textures.
Wallpaper Joint Compound
If you’re stuck on how to smooth plaster walls before painting or papering, opting for a wall compound is the answer. This product works in a very similar way to plaster – it might not be as thick, but it provides a similar finish, and is much easier to work with. Apply it with a trowel or a putty knife for silky smooth walls, and simply paste your paper over the top.
Sandpaper
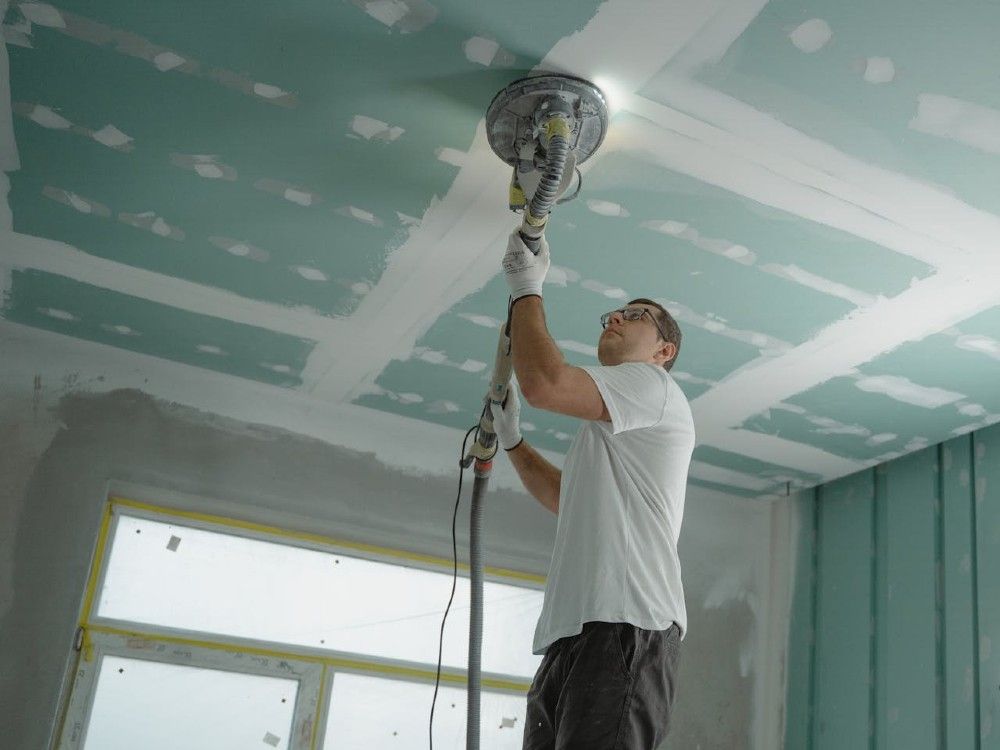
A necessity in the home-renovator’s DIY toolkit, sandpaper is a straightforward and reliable option when tackling the task of smoothing your walls.
Sandpaper creates a uniform and smooth surface to any wall, removing imperfections, rough spots, and any irregularities. It can remove loose paint, drywall mud, or joint compound, which reduces the risk of bubbles forming under your decorative wallpaper when it comes time to apply. If you’re stuck on how to smooth your walls before painting, this will also be your best bet.
Wall Panelling
These are panels or boards that are installed on the surface of a wall before papering, acting as a backdrop for the decorative wallpaper. These panels can be plain, or they can even add extra texture or pattern that enhances the aesthetic of your chosen wallpaper print.
Panels are applied directly to the painted wall or drywall surface, and are often used to create a more intricate or unique visual appeal in a room, or if you’re in need of a thick wallpaper to cover artex. They’re a little trickier to work with than something like sandpaper, but the finished look will be worth it.
DIY Steps to Smooth Walls
If you’re looking for a simple and straightforward approach to smoothing a wall for painting or papering, just follow these four easy steps.
Fill Holes & Cracks
First things first – address any major cracks, holes, or imperfections in your walls. You’ll want to tackle these larger areas before you go in to smooth out the finer details.
Use a deep powder filler, using a flat-edged scraper to work the filler into each and every part of the hole. There’s no need to stress about overfilling, as this actually ensures the hole is completely full. You can then go in with a scraper or knife to smooth over the top, making sure your tool is slightly wet before you start smoothing.
Sand Everything Down
Once your filler has completely dried, get your trusty sandpaper out and work your way around the room, making sure to sand down each hole you went over. You can also pay attention to any other areas here that need some smoothing to get absolutely perfect and primed for paper.
Clean Your Walls
Once you’ve sanded everything down, it’s time to clean. It’s important to get rid of any debris that the sandpaper might have caused, as you don’t want stray plaster dust ending up mixed into your paint or caught behind your paper.
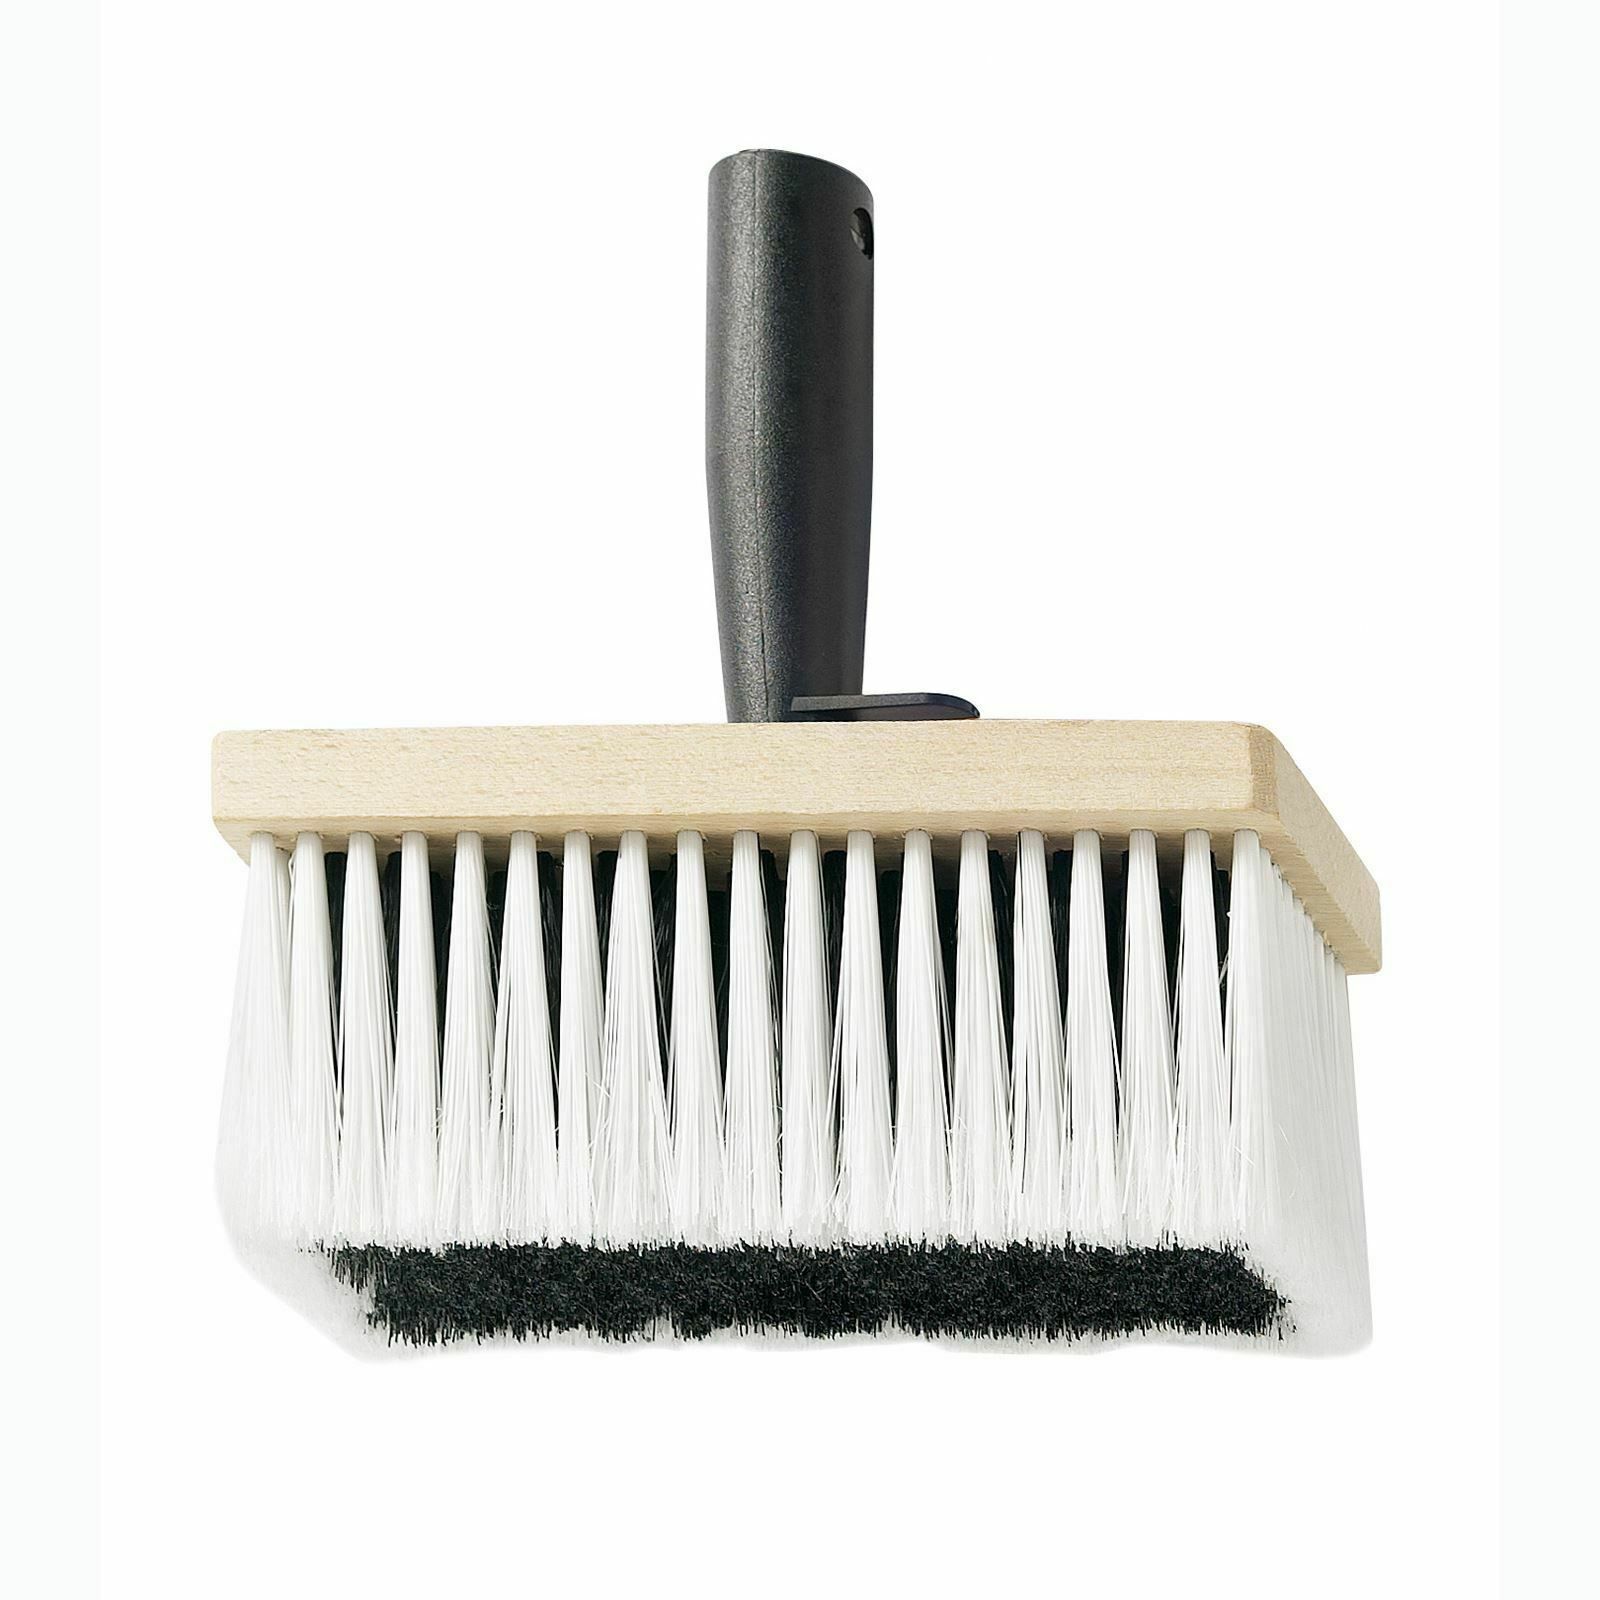
Use a brush or dust mop, starting at the top of your walls and working your way down to the floor. Once everything is at floor level, you can go in with a hoover and get rid of any fallen drywall dust.
Hang Paper or Paint
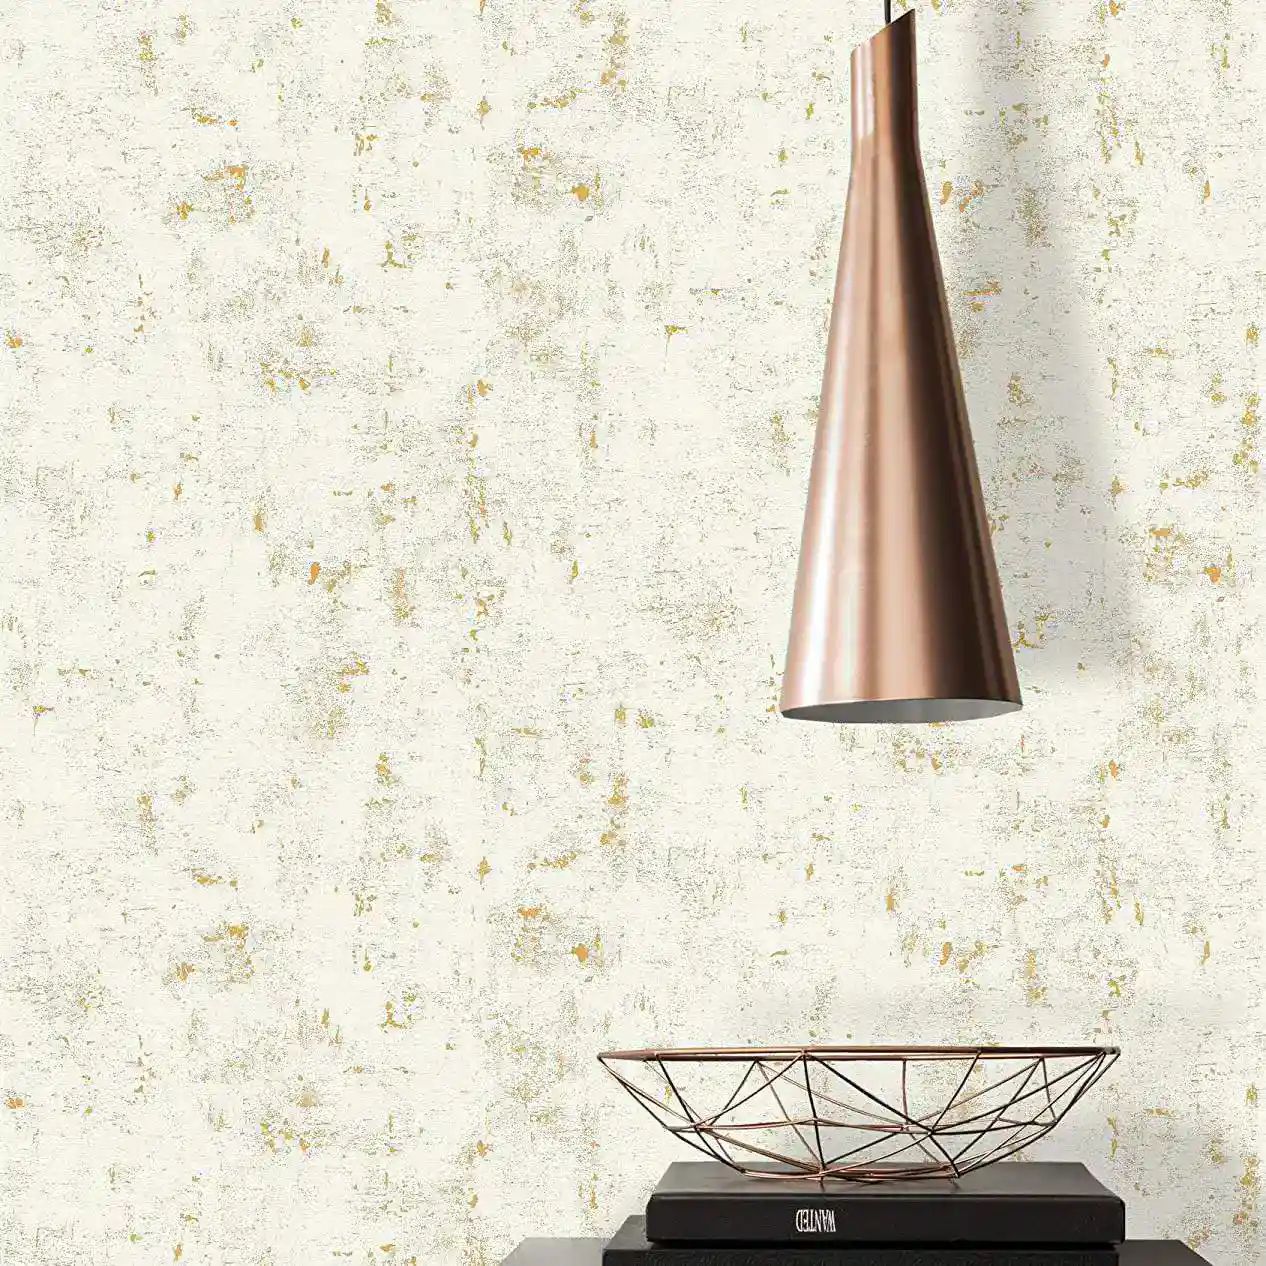
Now all that’s left to do is hang your decorative wallpaper on your perfectly primed and smoothed walls, and enjoy the finished result.
If you’re searching for the perfect wallpaper to hang on your new smoothed-down walls, feel free to browse our stunning selection of designs today, or get in touch with one of our helpful team to learn more about how we can help you transform your home with the magic of wallpaper.


