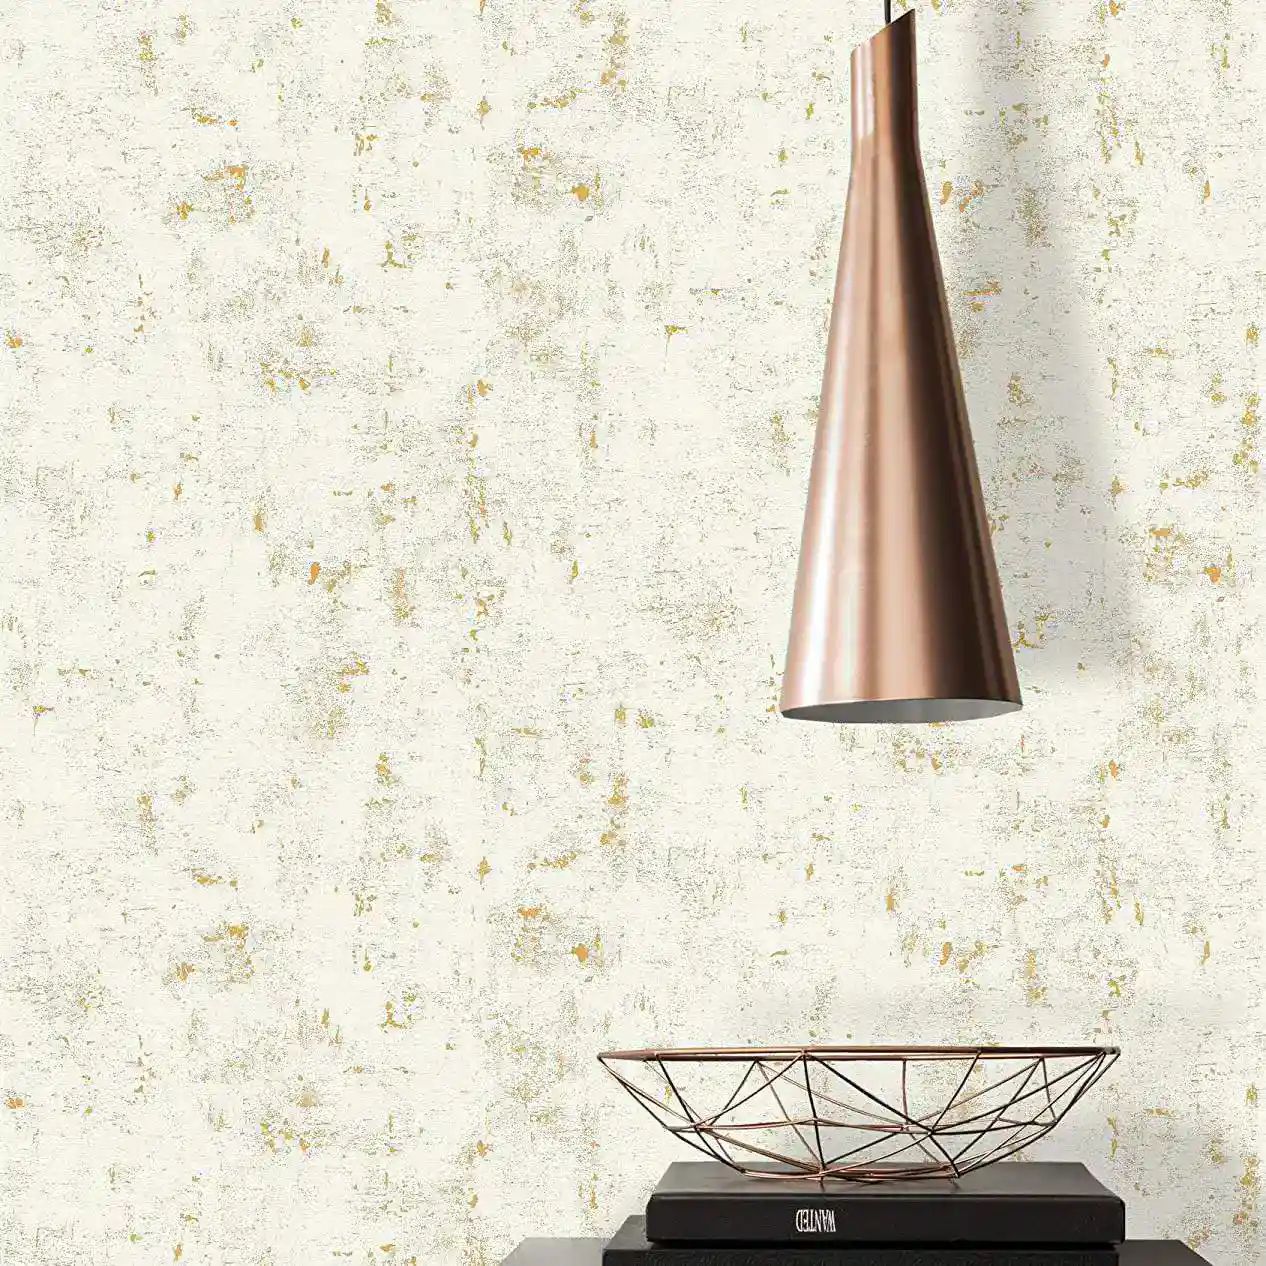
If you’re wondering where to start with wallpapering your home, follow this list of eight step-by-step instructions for the perfect DIY job.

Dreaming of beautifully patterned walls but never known where to start with the wallpapering process? You’re not alone – if you’ve never tried DIY-ing your walls before, it can seem like a tricky task. However, help is at hand – whether you’re renovating your entire home or trying out a single feature wall, our complete guide has you covered. If you’re wondering where to start with wallpapering, follow this list of eight step-by-step instructions to perfectly install wallpaper into your home.
Choosing Your Design
People will often forgo the crucial step of sampling their selection during their search; just as you might paint a wall with small strips of different colours, ordering wallpaper samples and attaching them to your chosen wall is a must. Colours often don’t appear exactly the same through a screen as they do in real life – double check which designs match your decor with a sample selection, and go from there.
What You'll Need
You’ve got your dream design – now it’s time to make sure you have all the tools you’ll need along the way before you get started. These are the essentials for any wallpapering job:
- Wallpaper - You might think this goes without saying, but the key thing is to make sure you have enough wallpaper to cover the entire space you’re decorating. The last thing you want is to get halfway through before realising you under-ordered and having to wait another two weeks for an extra delivery. All you need to do is measure your walls and then find a wallpaper calculator online, or through an app, to work out how many rolls it’s going to take to paper the whole room. You can find all the details about your design’s pattern repeats from your chosen seller.
- Tape measure and pencil - Very handy for the aforementioned measuring process.
- Trimming knife and scissors - This is for cutting and snipping your rolls of paper to perfectly fit your chosen space.
- Plumb line measuring tool - You can find these tools for relatively cheap, but if you’re just doing a one-time wallpaper job there are tons of measuring apps out there.
- Wallpaper paste - Off-the-shelf adhesive is available from all good DIY stores, and saves you a lot of time and hassle compared to mixing your own.
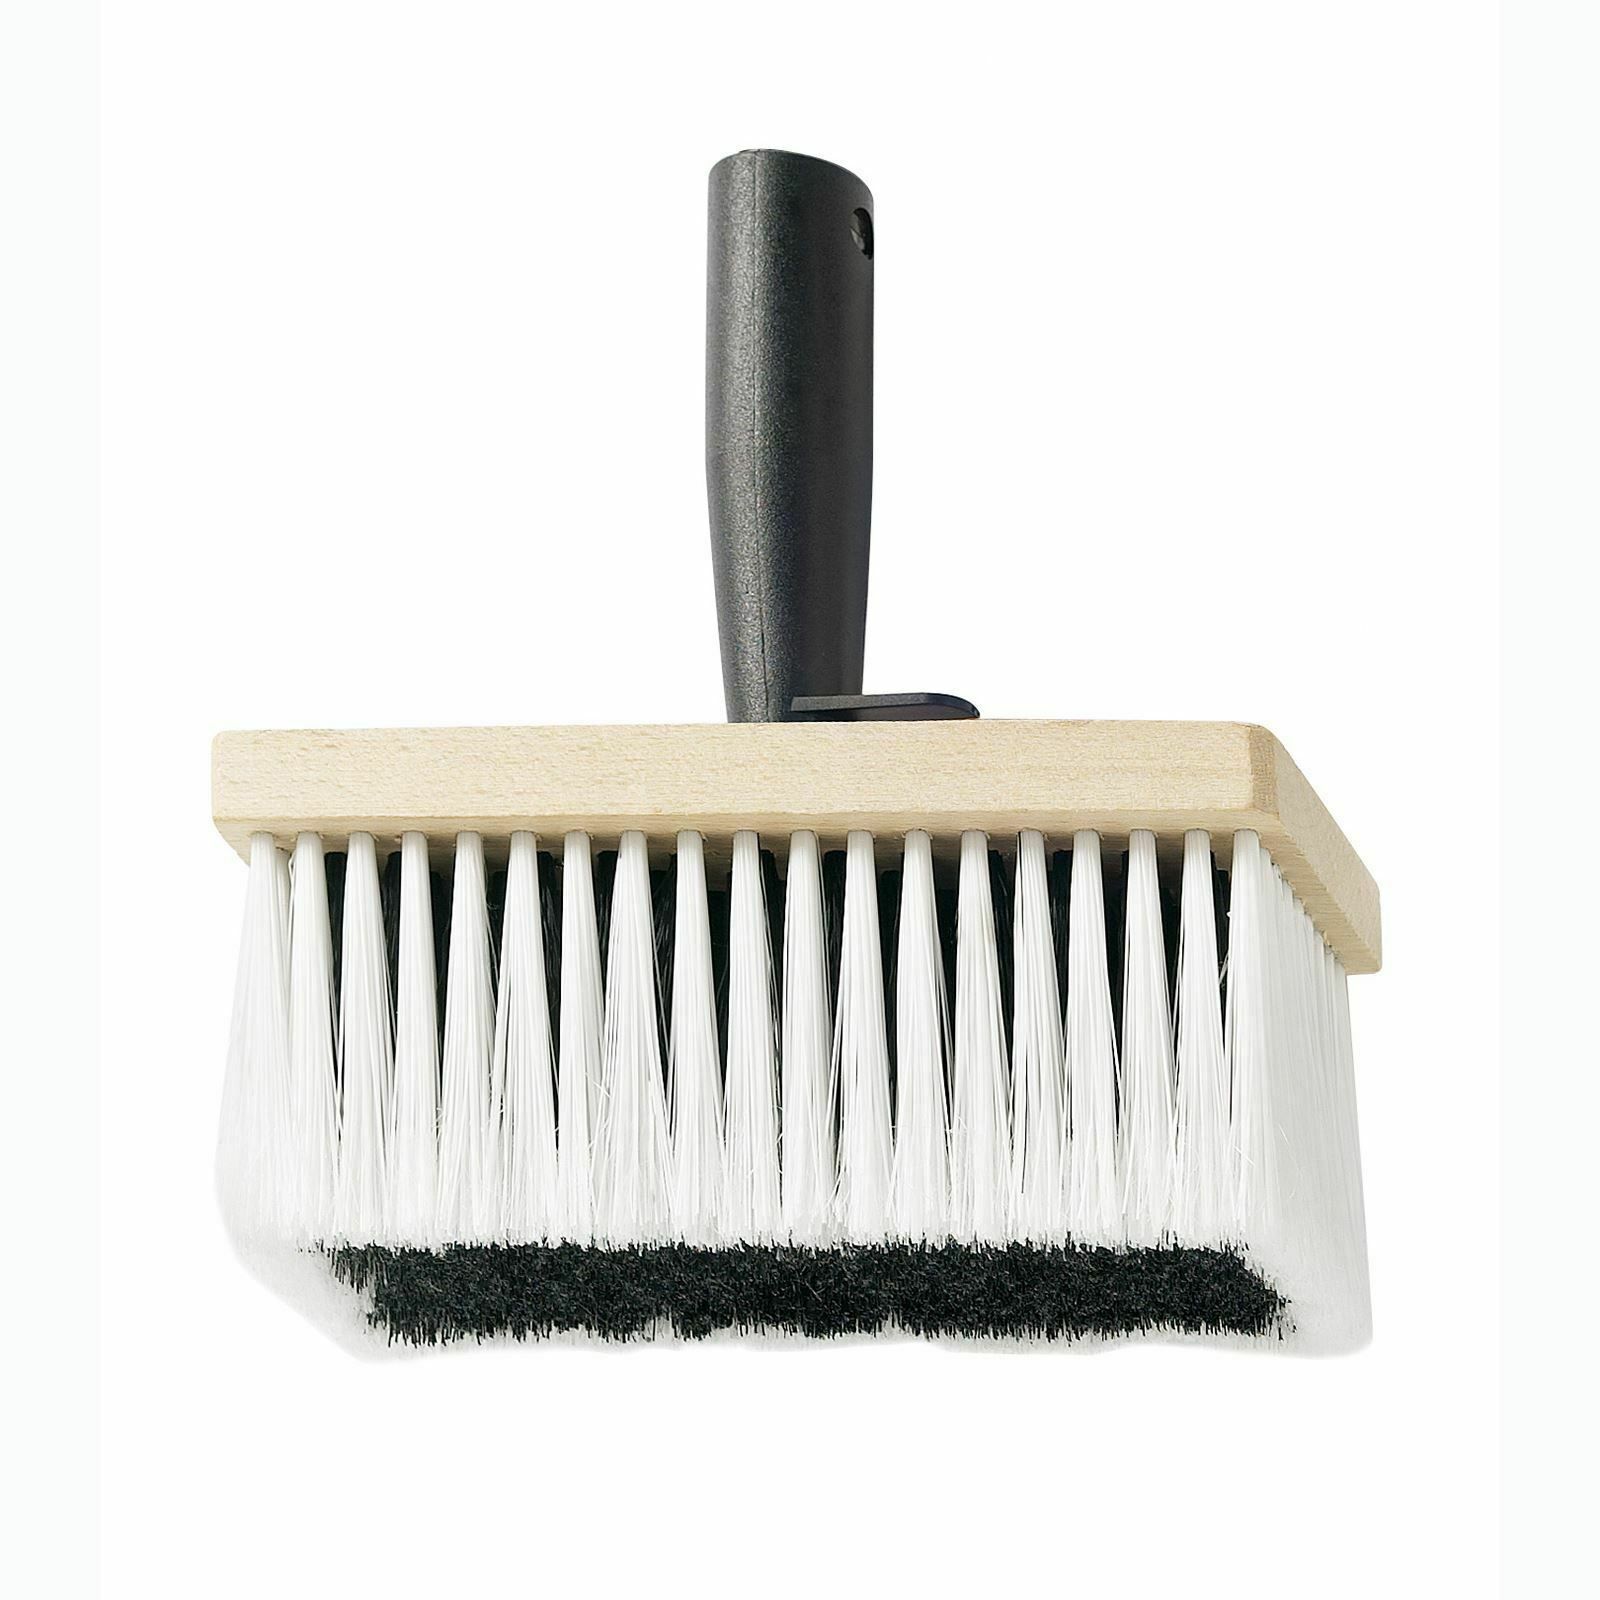
- Brush - An essential for easily and effectively pasting your wallpaper down.
Prepping You Walls
Whatever space you’re decorating, it is vital that you properly prep your walls before you go in with your wallpaper. Not only will this make for a quick and easy application, but it will also ensure that your walls look as good as they possibly can, without any bumps or creases that can be extremely eye-catching, especially with more intricate designs.
To start off, clear your walls of any hooks, nails, or screws (you can do this easily with a good pair of pliers), and plug any gaps with filler. If there are any bumps, sand them down with a piece of sandpaper.
Use a soft, damp sponge to clean your walls and make sure they’re completely dry before you go in with your paper. If you do notice any areas of wall with damp or mould, make sure to get these sorted out first – papering over them could lead to even more issues down the line.
Baby Steps
For first-timers, it’s a good idea to ease yourself in with an area of wall that’s not too challenging. If you’re stuck on where to hang your first piece of wallpaper, steer clear of walls with switches and sockets, and if you can, opt for a space that you know will be covered by furniture. This alleviates some of the pressure for your first few strips, before you get into the swing of things and become more confident.
Measuring Out
This is the technical bit – measure the length of wall you’re papering, and then give yourself some wiggle room (maybe 20cm) to account for any sections that might be slightly wonky. Unroll your wallpaper, and use the tape measure and pencil to mark out this measurement. Carefully cut out your first strip using the trimming knife and scissors.
Next, use the plumb tool to draw a straight line down your wall. If you’re worried about how to hang patterned wallpaper, this step is essential, as it will ensure you paste your paper down completely straight.
How to Hang Wallpaper
Depending on your chosen print, you’ll either have a paste-the-paper or a paste-the-wall design to work with. If you’re pasting the paper, you should aim to soak each strip in the paste for around 8-12 minutes before applying it to the wall. If you’re pasting the wall, you can just apply the paste directly onto any given area, and you’re good to go.
Consult your seller to find out what you’re working with and apply your strips to the wall accordingly, making sure to smooth down all the edges and any bumps that might occur with your handy brush. Work from the inside out, rather than brushing towards the middle of the strip, and make sure to go slowly and gently to avoid any creasing. This is how you’ll hang your wallpaper without any seams showing. Where the paper meets the skirting boards and ceiling, simply brush it down as far as it will go before slicing off the excess with your knife.
Tips on Hanging Wallpaper
For those troublesome areas like light switches and plug sockets, don’t panic – all you need to do is apply your paper as usual, without smoothing it down too much, before making a small hole in the paper just at the centre point of where the switch or socket sits. Slowly cut away the paper with your scissors until the section behind is exposed, then smooth the edges down, taking care to work inwards towards the switch or socket. Trim the final snippets of paper away with your knife.
Drying & Aftercare
It can take anywhere from two days to a week for your wallpaper to dry completely, depending on your chosen design. All that’s left to do after they’ve dried is sit back and enjoy your new walls!
If your walls ever get dirty or accidentally spilled on, most wallpaper will only need a clean, damp sponge to get back to looking good as new. It’s always smart to double check the material type with your manufacturer before attempting any sort of clean, just in case your particular design doesn’t do well with water or chemicals.
Searching for your dream wallpaper to have a go at DIY-ing your walls for the first time? Discover our stunning selection of designs today, with samples available for each and every item.


