


Though it may seem tricky at first, wallpapering into a corner needn’t be a daunting task. Here, we’ve shared a few tips and tricks to ensure success.

Once you know what you’re doing, hanging wallpaper is a walk in the park. But, what about those awkward spots and hard to reach areas? Don’t worry, the prospect of upping tools and getting your paste on might be a little daunting at first, but the reward far outweighs the risk.
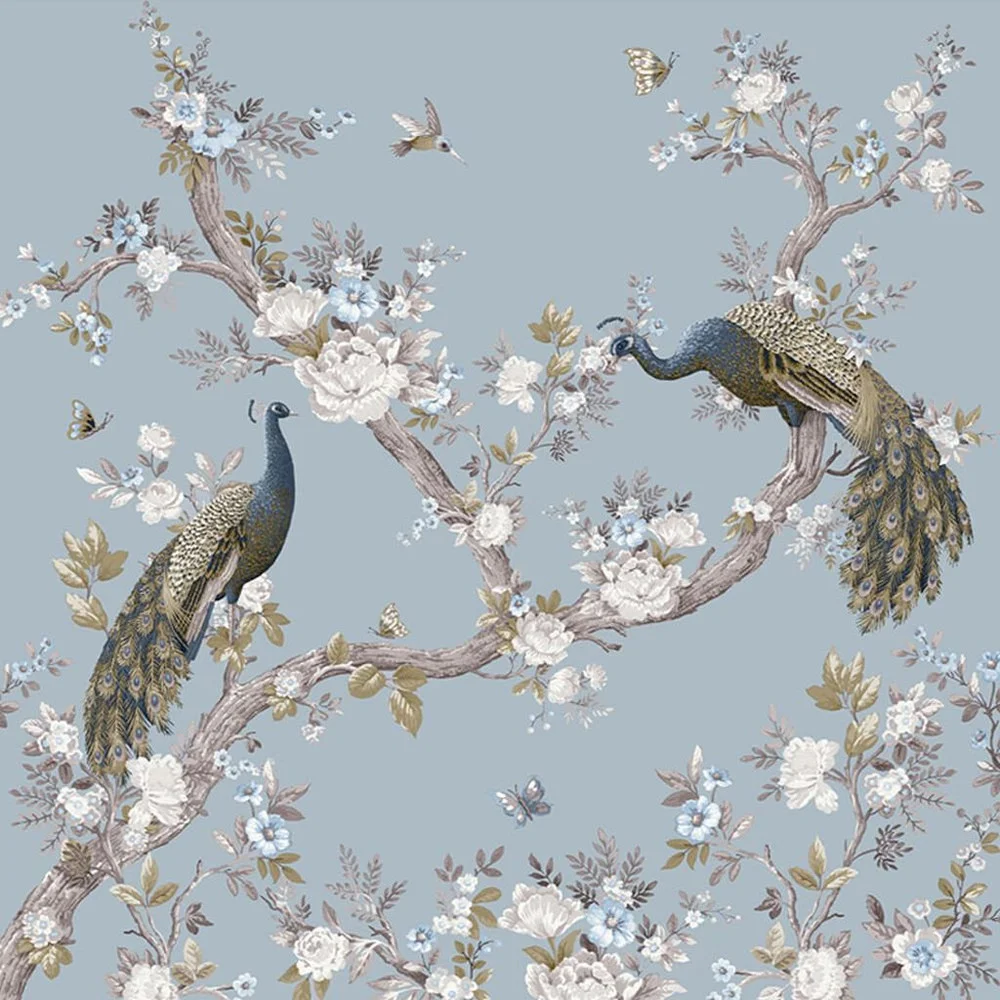
Be it textured, patterned, geometric or floral in design, wallpapering into corners can look incredible and unify a space. That said, getting them right takes a little preparation and forward thinking.
Whether you’re looking to cover internal or external corners, this guide will help you to achieve stunning results, every time.
Tackling Internal Corners
For those looking to decorate an entire room, internal corners are usually unavoidable. However, they do present certain challenges; namely, these areas rarely follow exact right angles or straight lines. To navigate this issue, internal corners are usually covered using two separate sheets of wallpaper, with a small amount of overlap.
Step 1. Measurements
As with any wallpapering project, the first step involves accurately measuring the area in question. To do so, begin by recording the distance from the edge of the last piece of wallpaper to the corner. We recommend taking measurements at the top, middle and bottom of the wall to find the widest point. Be sure to make a note of this.
Step 2. Overlap & Cutting
Next, add 20mm to the previous measurement. This will ensure there is enough wallpaper to wrap around the corner to the next wall. It is worth noting that thicker wallpapers may require a little more overlap (20-50mm is usually sufficient). With the overlap accounted for, cut your wallpaper to size.
Step 3. Hanging
Hang your paper as you would any other section. If necessary, match the pattern to the adjacent sheet before pressing it into the corner using a long ruler, wallpaper spatula or similar tool.
With the corner sheet in place, mark a plumb line on the next wall to ensure the new length of wallpaper is hung straight. Then, aligning your new length of wallpaper with the plumb line, cover the overlapping section. Again, when working with patterned wallpaper be sure to align the patterned elements for a sleek and imperceptible join.
Negotiating External Corners
As far as external corners are concerned, the process is not too dissimilar from that outlined above.
Step 1. Measuring
As with internal corners, begin by measuring the distance from the last length of wallpaper, to the beginning of the external corner. Then, add 20-50mm to this measurement, depending on the thickness of your wallpaper.
Step 2. Cutting & Hanging
Next, cut your length of wallpaper to the correct size, incorporating the overlapping measurement. Then, hang your paper as you would any other, gently smoothing the overlap around the corner. Remember to draw in a plumb line to ensure your length is straight. Should creases or bumps appear, use a cutting knife or scalpel blade to open and smooth these sections.
Of course, for consistent results, it is important to use high-quality wallpaper. Get in touch to discuss our extensive range of designer brands and gorgeous designs.