Wallpapering stairwells presents a unique set of challenges. From preparation and safety to finishing touches, here’s our guide to the process.

With wallpapered staircases well and truly back in fashion, it is only right that designers and homeowners alike should reach for their rolls and get pasting. Done right, a wallpapered stairwell seamlessly connects one floor to another, creating a sense of unity within a space and enabling an aesthetic theme to be continued across a number of levels.
That said, nothing good ever comes easy. With multiple steps, lengths, widths, corners and landings to account for, wallpapering a stairwell is among the more daunting of home design tasks. But, it needn’t be this way. With the right technique and a little forethought, you’ll be hanging gorgeous designs up and down your stairs in no time.
The Task At Hand
Before rushing ahead, it is well worth taking the time to consider the task ahead and the challenges that may present themselves. This may sound a little dramatic, but you want to get it right.
First and foremost, wallpapering a staircase is not the same as a standard room. There are different heights and angles to account for, not to mention the limited space in which you will be working. Acknowledging these difficulties will not only allow you to hang picture-perfect wallpaper, but it will allow you to do so safely. For taller ceilings and large spaces, sturdy ladders and painter’s steps are a must.
Choosing The Right Wallpaper For Stairwells
If you’ve already chosen your wallpaper, you may wish to move on to the next step. If not, here are a few things to consider when finding the perfect design for your stairwell.
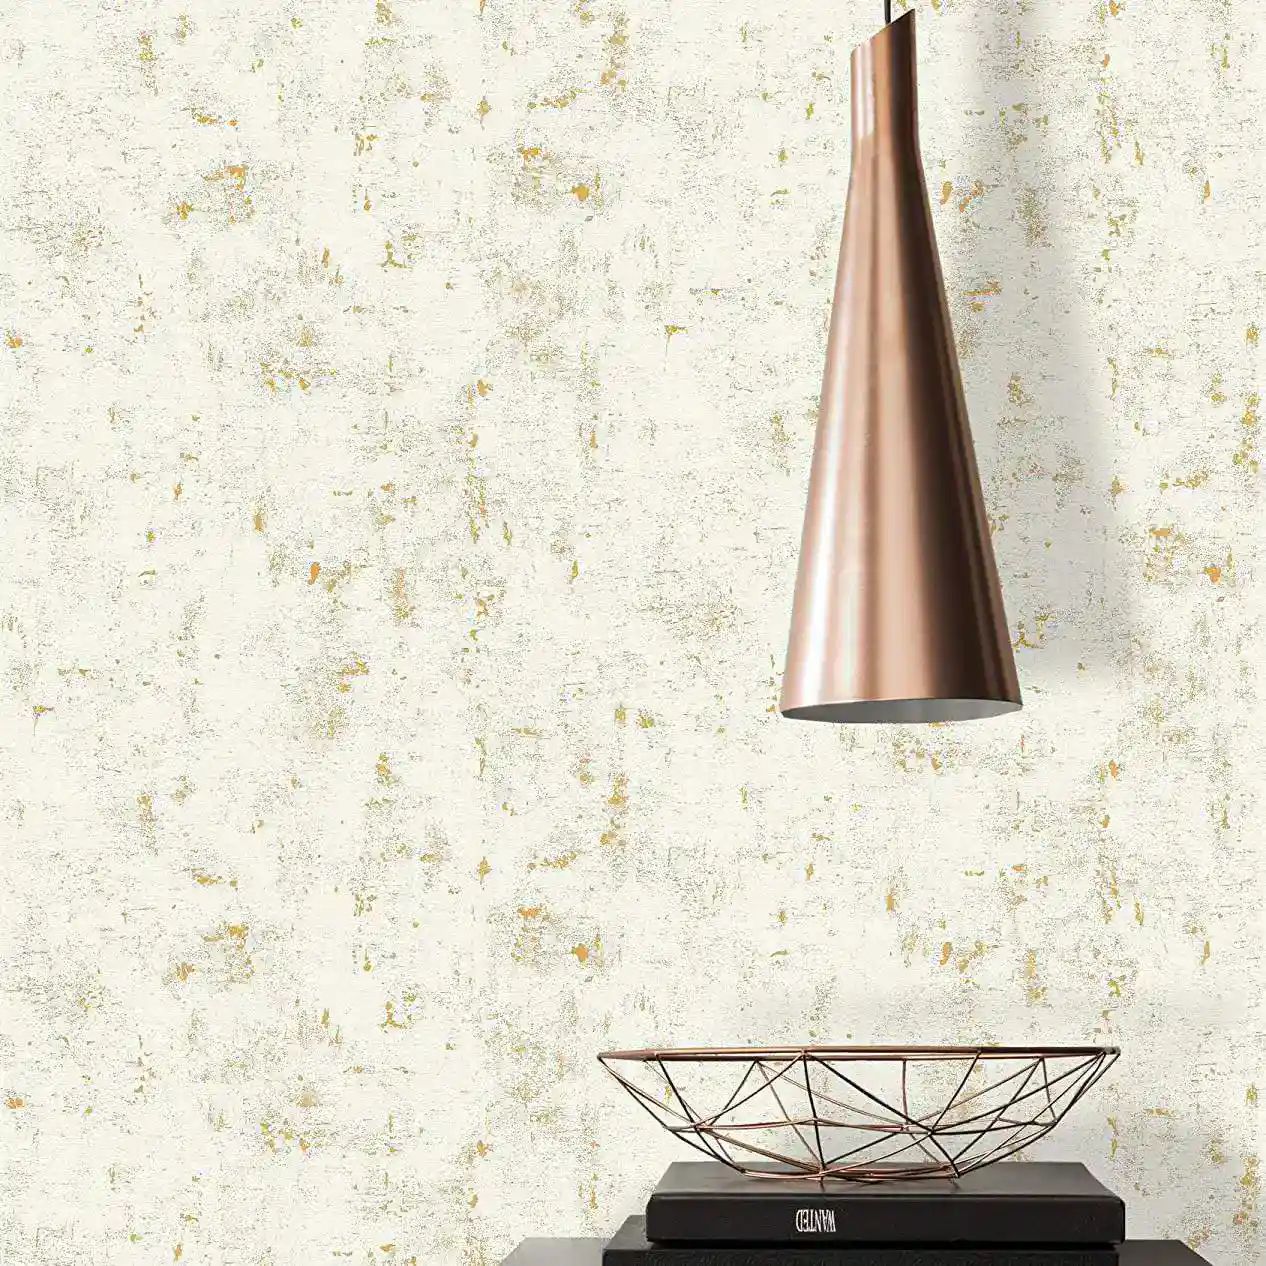
For DIY enthusiasts and home decorators, we’d recommend choosing a style of wallpaper that doesn’t require precise pattern matching. Whilst intricate designs can deliver stunning results, they are much more difficult to execute well. Consider a more forgiving pattern, such as leaves and trees or simple textures; this can hide minor imperfections, ensuring the wallpapered staircase walls look seamless and professional.
Preparing The Stairwell
Whether you’re a wallpapering wizard or complete newbie, preparation is essential. A smooth, clean surface is the key to expertly hung wallpaper, ensuring it adheres properly and has no ugly lumps or air bubbles.
Begin by repairing any cracks or holes in the walls, before sanding down any flaking paint and cleaning the walls with a gentle soap to remove any dirt or grease that may affect the hanging process. Make sure you give the walls time to dry before you begin wallpapering.
The Wallpapering Process
With your wallpaper chosen and the area prepared, you’re ready to hang. Start with the tallest section of wall (this will usually be the top landing or bottom step depending on the style of stairwell), using a plumb line or level to ensure your starting point is vertical.
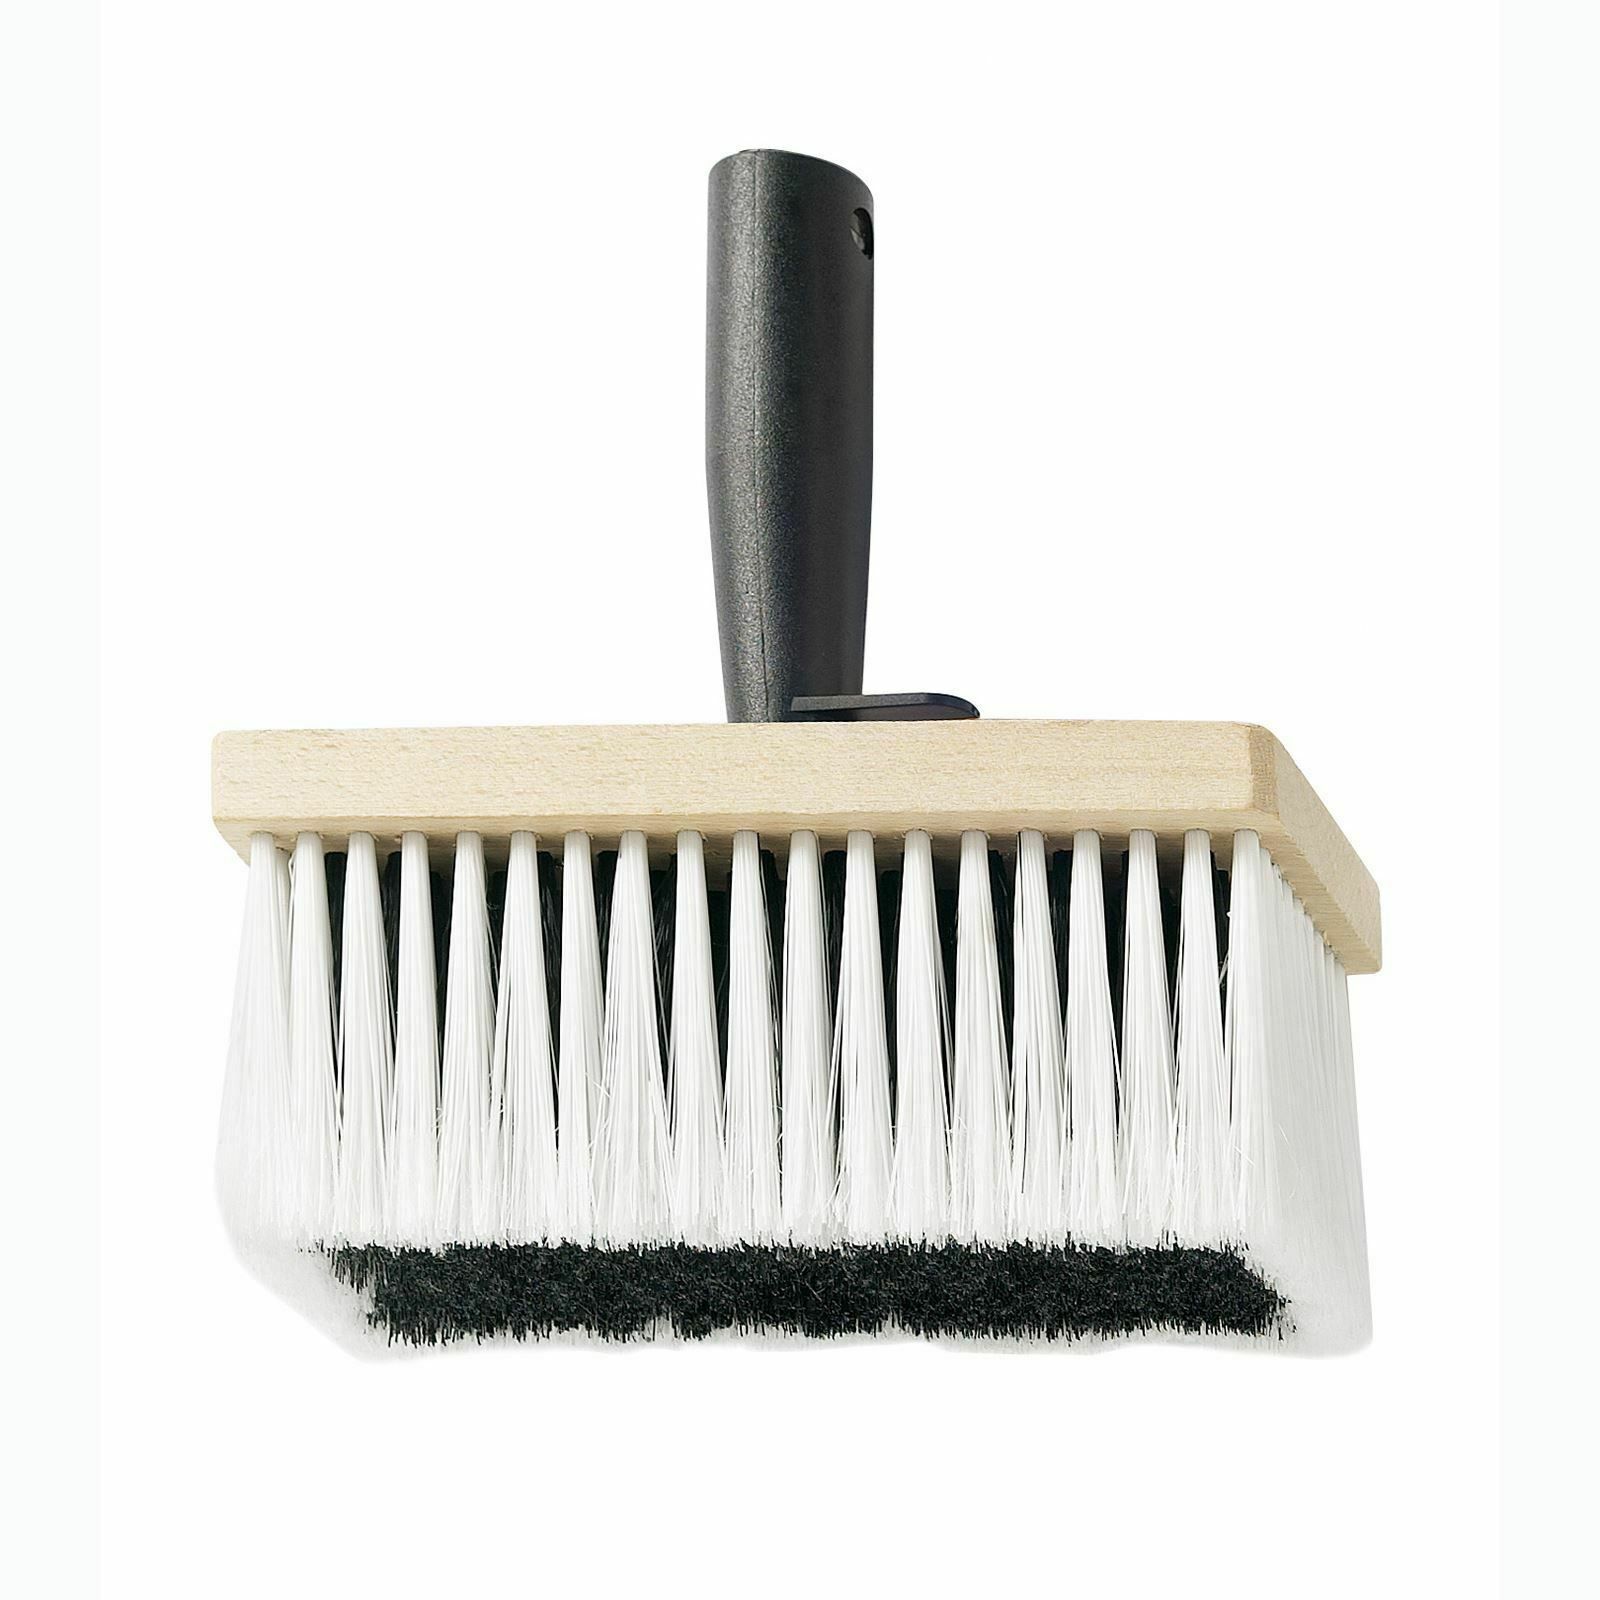
Starting at the highest point, paste your wallpaper onto the wall, smoothing as you work. Paste from top to bottom. Once hung, trim your wallpaper to the angle of the skirting board or rail. This should be done using a scalpel blade or scissors.
Should you encounter awkward wall fittings, such as plug sockets or ventilation, paste over these before cutting a section through which they can fit. Be sure to leave a few centimetres of overlap to ensure no wall is showing through behind. Then, carefully unscrew the fitting and tuck the excess wallpaper behind.
Repeat the above steps for each length of wallpaper, making your way up/down your stairwell. Once all of your lengths are in place, check for air bubbles or creases on or around corners. These can be remedied by making a small incision with your knife and gently smoothing the area down.
It goes without saying that great results require great wallpaper. Get in touch to discuss our huge selection of designer brands and stunning patterns.


