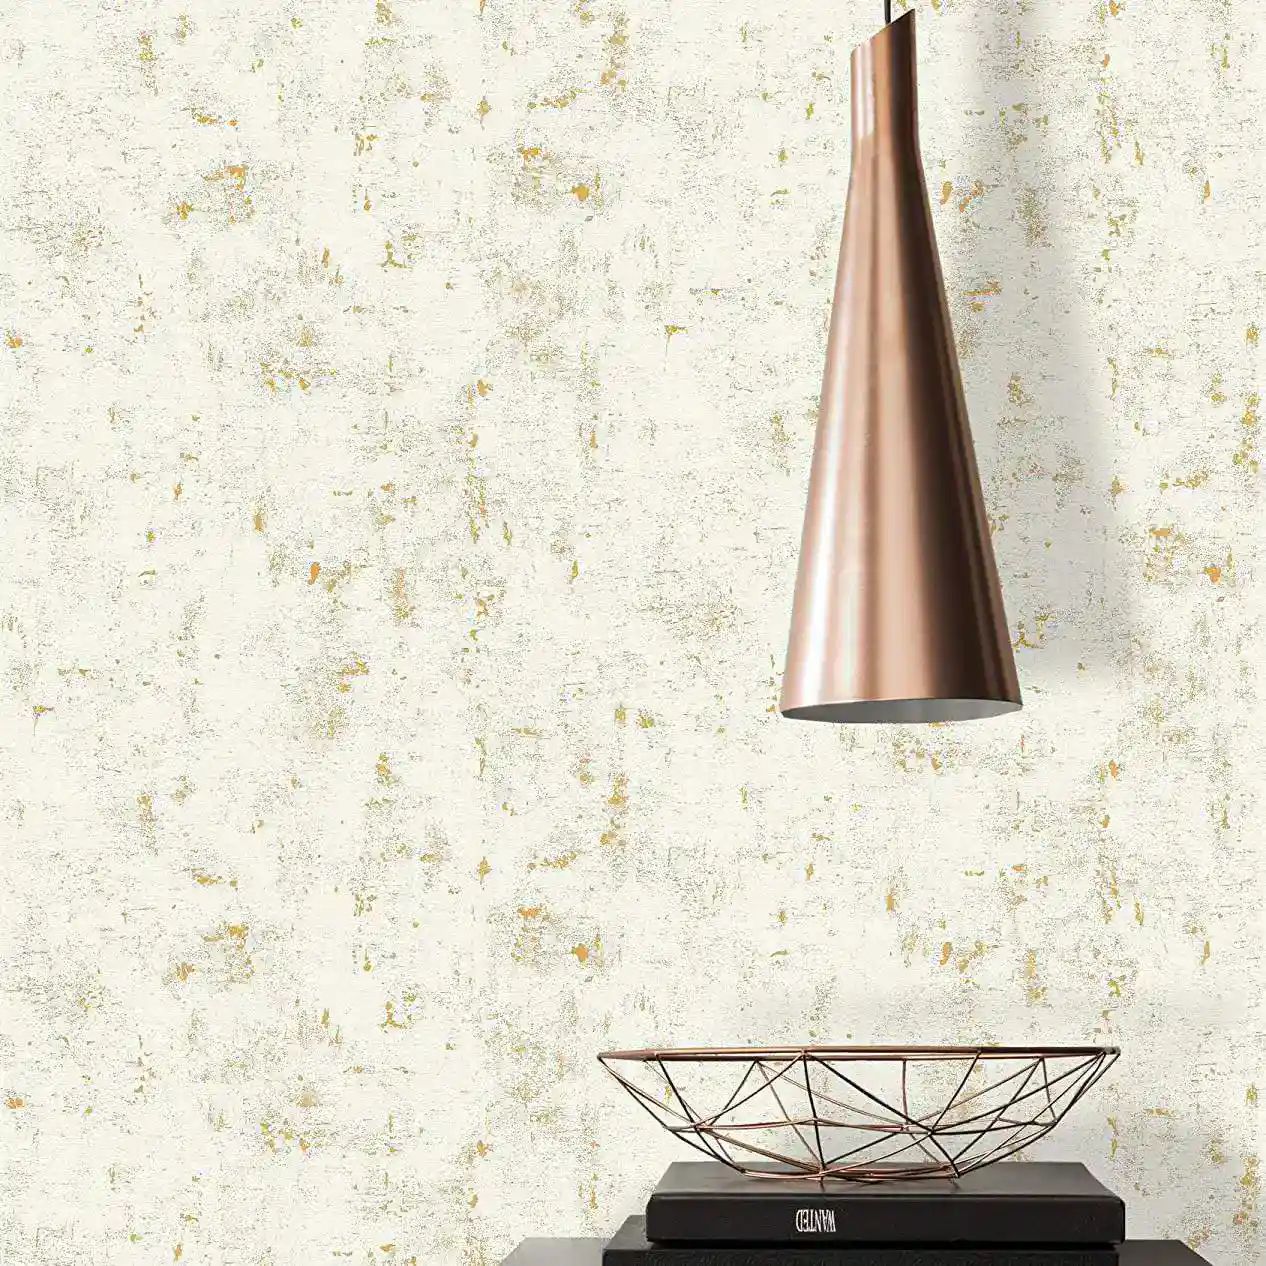
Browse our range of essential tools for wallpapering today to find everything from adhesives and wallpaper accessories to wallpapers and murals.

Found your perfect wallpaper and stuck on how to go about hanging it? You’re not alone – whether you’re renovating a house or just doing up your bedroom, properly pasted wallpaper makes all the difference to the look and feel of a room. Here’s our top picks of all the essential tools needed for wallpapering that will give you perfectly smooth, professional-looking walls.
Smoothing Wallpaper Tools
An essential decorating tool for wallpaper, these are designed to help you get that perfect, smooth application. Say goodbye to air bubbles, wrinkles, and excess adhesive – wallpaper smoothing tools ensure a clean and polished finish with each and every strip of wallpaper.
Smoothing Brush
This will typically have a flat surface and soft bristles. When using, simply start from the centre of your wallpaper and slowly work your way outward, being careful not to press too hard.
Seam Roller
This tool is small with a smooth surface, usually used for smoothing down the seams between adjacent strips of wallpaper to prevent peeling over time. Simply roll it over the seams with even pressure, ensuring the edges are securely adhered to the wall.
Plastic Smoothing Tool
Made of flexible plastic with a smooth edge, these tools are best used at a slight angle. Try to glide your plastic tool over the surface of the paper, with a gentle sweeping motion so as to avoid any breakage.
Sponge
Smoothing tools don’t have to break the bank – a simple sponge will do the trick nicely. Make sure it’s damp, not wet, and go along your walls with gentle strokes. The moisture will help to activate the adhesive you’ve applied, ensuring a close and secure fit to the wall.
Cutting Tools
These are tools specifically designed for accurately cutting and trimming your chosen paper while you prep and paste, ensuring a polished and professional-looking finish to your walls.
Utility Knife
You can use your knife for a variety of wallpaper pasting needs, such as cutting rolls, trimming edges, and making precise cuts when pasting around things like light switches or door frames. A box cutter or snap-off blade knife will also work well here.
To use, simply place a straight edge or wallpaper cutting guide along the line you want to cut. Make sure to hold the knife at a slight angle for a smooth and controlled cut.
Cutting Guide
On the list of tools needed for wallpapering, this is up there. Whether a metal straight edge or a ruler, a cutting guide is essential for ensuring straight lines and precision when cutting. To use, simply place your guide along the line you want to cut, hold it securely in place, and use your cutting tool to slice along the edge of the guide.
Wallpaper Scissors
These are special scissors designed specifically for cutting wallpaper, with precision blades that prevent frayed edges and ensure clean, crisp cuts.
Pasting Tools
Proper application of wallpaper paste is crucial to achieving a secure and durable bond of paper to wall. These tools will ensure your paper is hung quickly, efficiently, and precisely.
Wallpaper Paste Brush
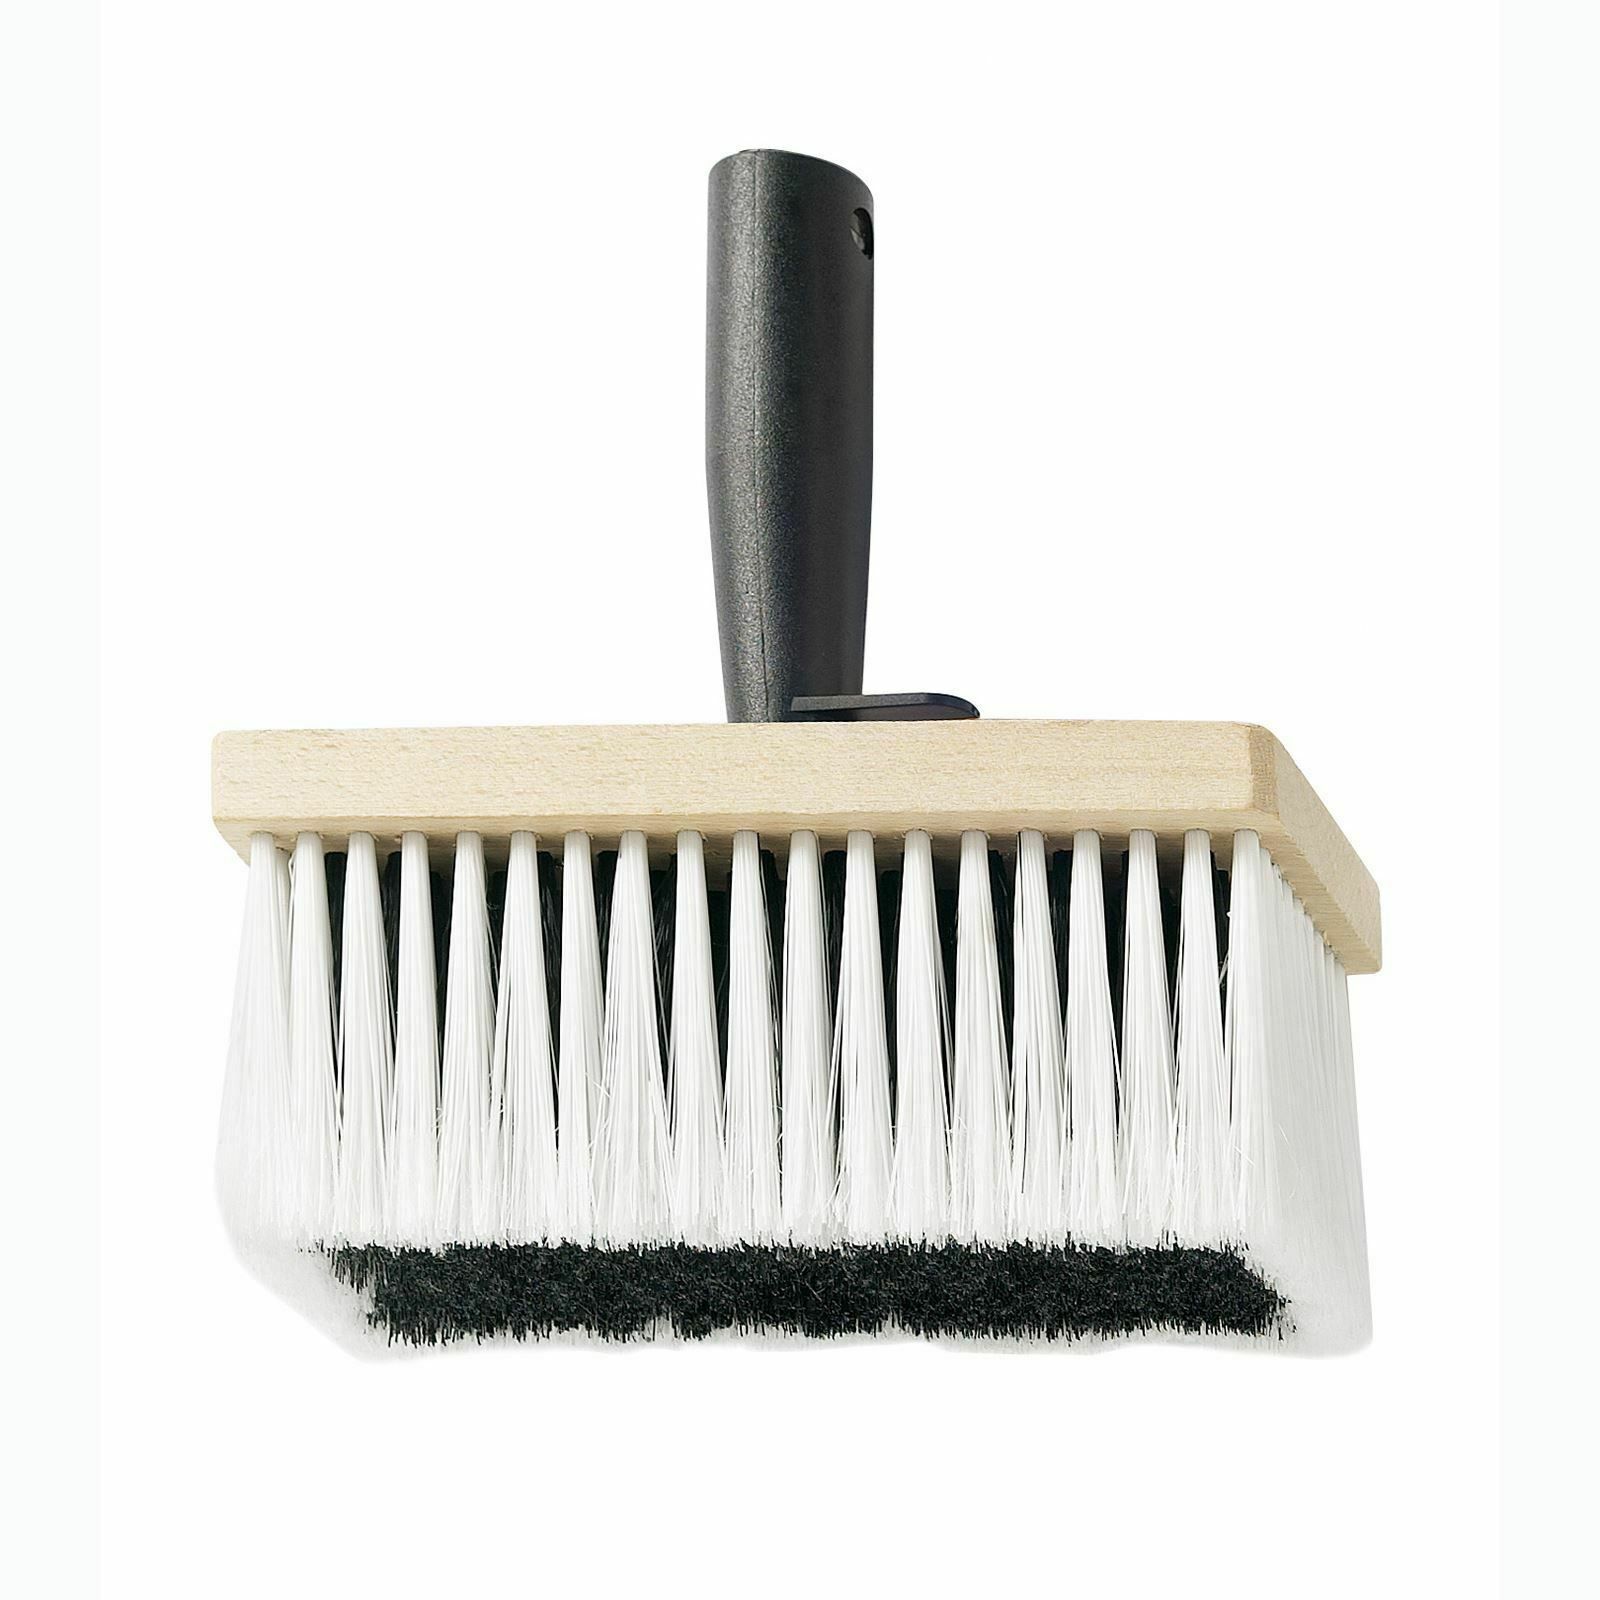
A wide, flat brush with soft bristles, this tool is designed for applying paste evenly to the back of wallpaper before you stick your strips down. When using, make sure to start at the centre of your strip, brushing evenly towards the edges.
Paste Roller
Similarly, this tool is also used to apply paste to the back of paper. Use it the same as you would a paint roller, dipping in a tray of paste and rolling with smooth, even strokes.
Pasting Table
Any large, flat surface that you can adequately protect will do here – all you need is a space where wallpaper can be laid out and pasted prior to hanging.
Wallpaper Liners
Also known as wallpaper lining paper or wallpaper liner paper, these are additional layers of material which are applied to walls before the chosen wallpaper design. They help to create a smooth, flat surface for the paper to sit on, similar to a paint primer. Liners also mean better adhesion when it’s time to paste the real deal.
Removing Wallpaper Tools
Scoring Tool
This is a small tool that has little spiky wheels, with sharp edges designed to create tiny holes in the surface of the old wallpaper. This helps water, remover, and steam to penetrate the paper and loosen it up.
Steamer
A welcome time-saver in the process of wallpaper removal, these use hot steam to loosen the wallpaper adhesive, which makes it much easier to quickly peel off the walls. When it comes to professional wallpapering tools, this is a must-have.
To use, simply fill it with water and allow it to heat up. Hold the steam plate against the old wallpaper for around 30 seconds, then use a scraper tool to peel everything off.
Liquid Removal
A liquid removal solvent or concentrate is designed to break down the strong wallpaper adhesive, making it easier to scrape off. They are usually mixed with water, and applied to walls with a sponge, spray bottle or roller.
Scraper
A scraper or putty knife is essential when removing old wallpaper. You’ll want to prime your walls with your chosen removal method first, whether that’s a steamer or a liquid solvent. Once your walls are suitably damp, just go in with your scraper, starting at the edges, and gently lift and peel, working in sections.
Drop Cloth/Plastic Sheeting
Protective coverings are crucial here, as your floors are vulnerable to damage from all the falling paper, water, steam, and debris. Make sure you cover your floors prior to beginning the entire removal process.
Whether you’re a seasoned decorator or a first time DIY-er, we’ve got the tools you need to embark on your next wallpaper project. Browse our range of essential tools for wallpapering today to find everything from adhesives and wallpaper accessories to wallpapers and murals.


