If you’re a wallpaper-remover beginner in need of some tips and tricks, follow these nine simple steps to stripping your walls.
Decorating, renovating, or revamping a room is all fun and games when you’re picking out new wallpaper patterns and making Pinterest boards of different kinds of Persian rugs. But when the time inevitably rolls around to stripping old wallpaper from a room, things can sometimes get a bit overwhelming.
If you’re a wallpaper-remover beginner in need of some tips and tricks, help is at hand – all you need to do is follow these nine simple steps to get your walls primed and prepped for a fresh layer of paper.
What You’ll Need
First things first – the shopping list. There’s loads of kit you can get your hands on when stripping your walls, but here’s a basic list of materials and tools you’ll need to get started:
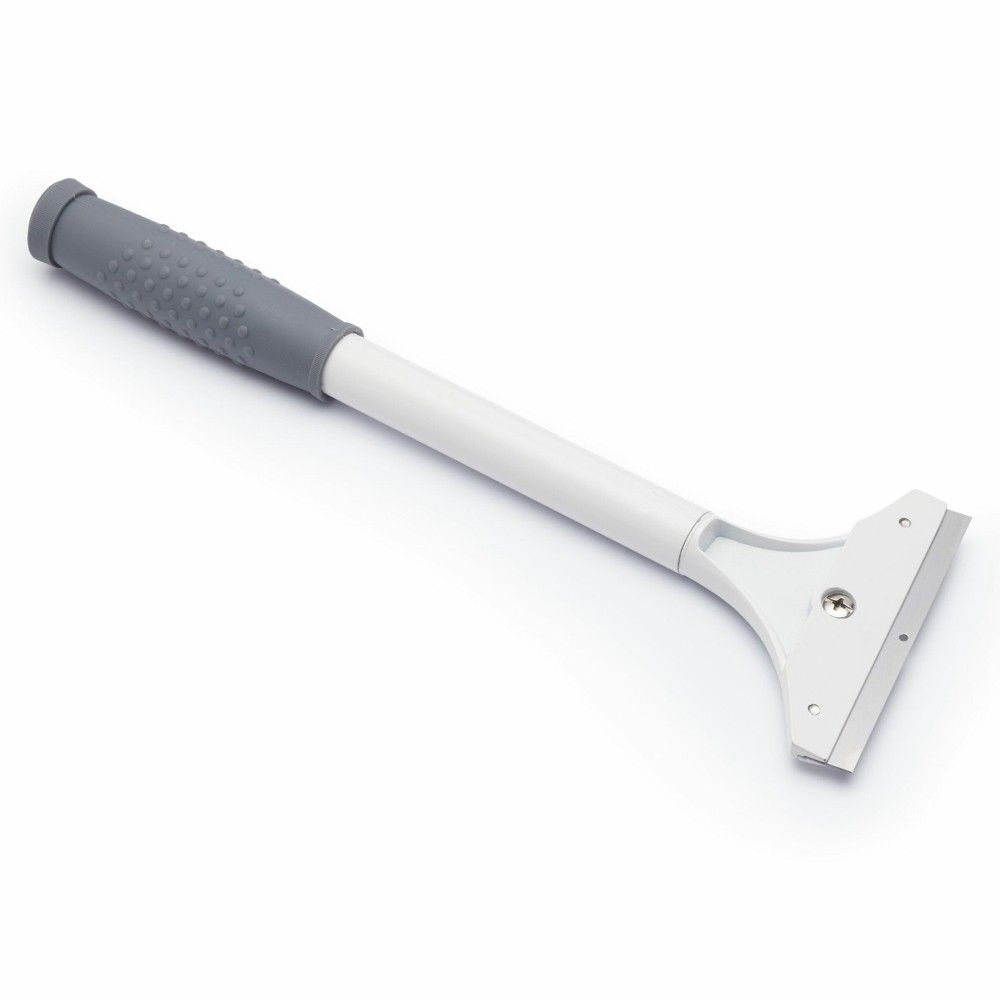
- Utility knife or wallpaper scraper - An essential for getting under the corners of the old paper and lifting it off the wall.
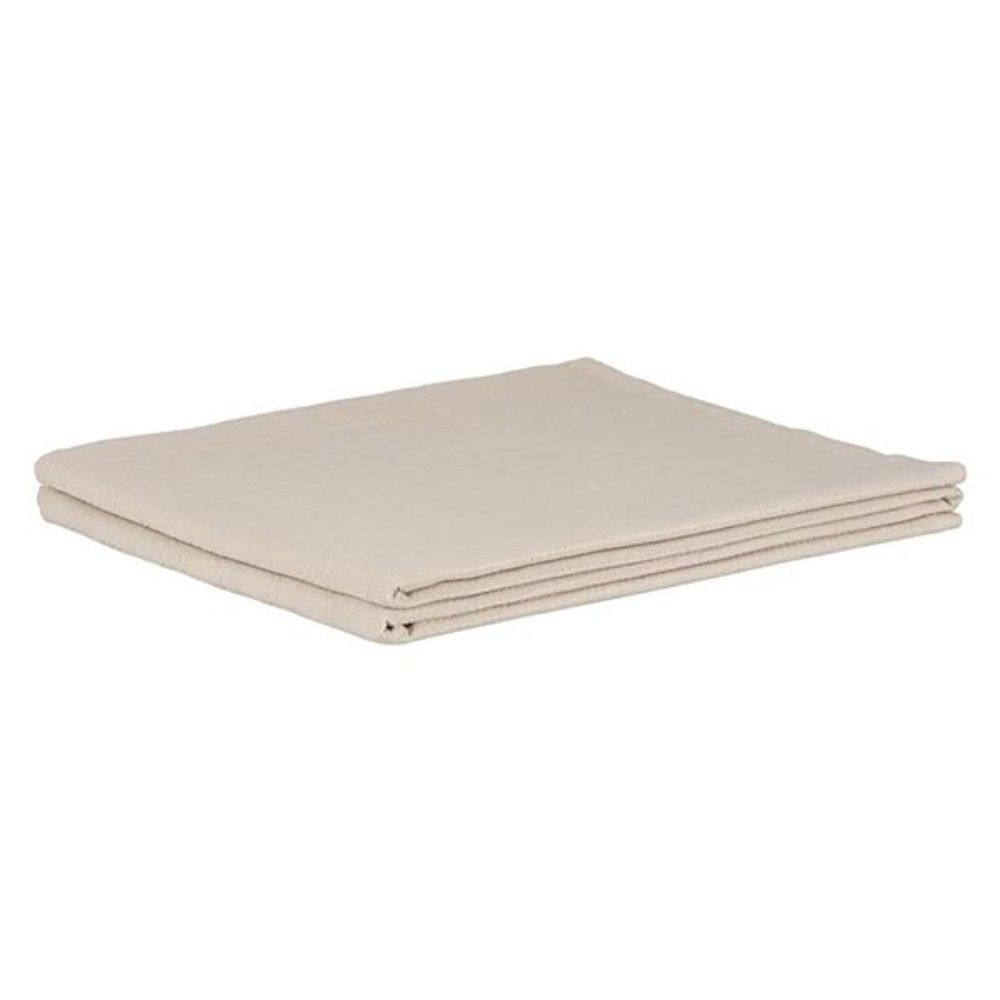
- Plastic sheeting - Or, essentially, anything you can cover your floor with while you work. This is to keep your boards or carpet protected from paper debris and water splashes.
- Wallpaper remover solution - There’s a few options here – any good DIY shop will have countless commercial solutions on offer for you to choose from, or, you can create your own solution by mixing water with either dish soap or vinegar.
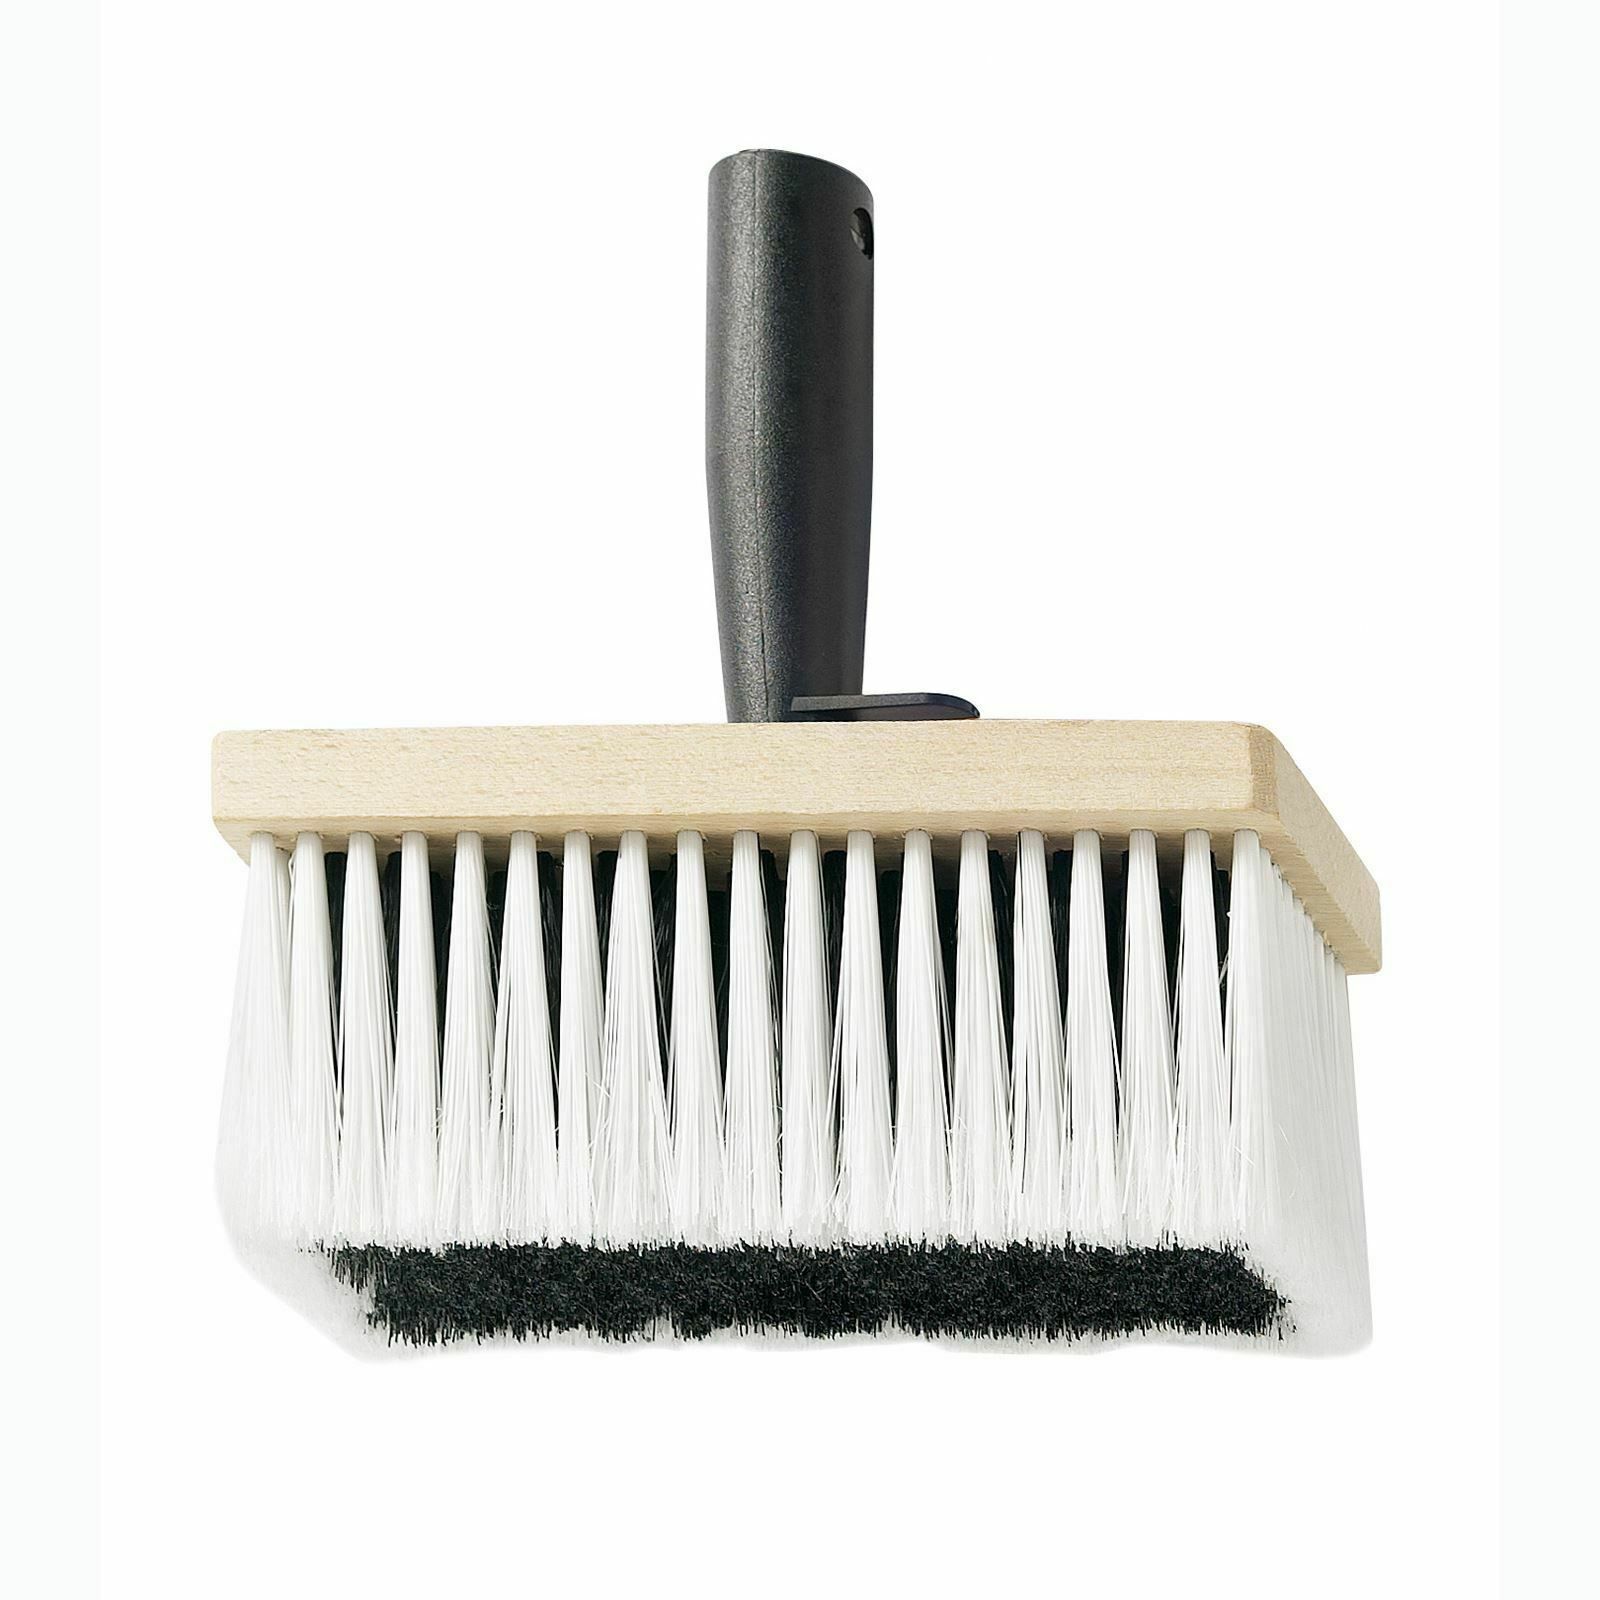
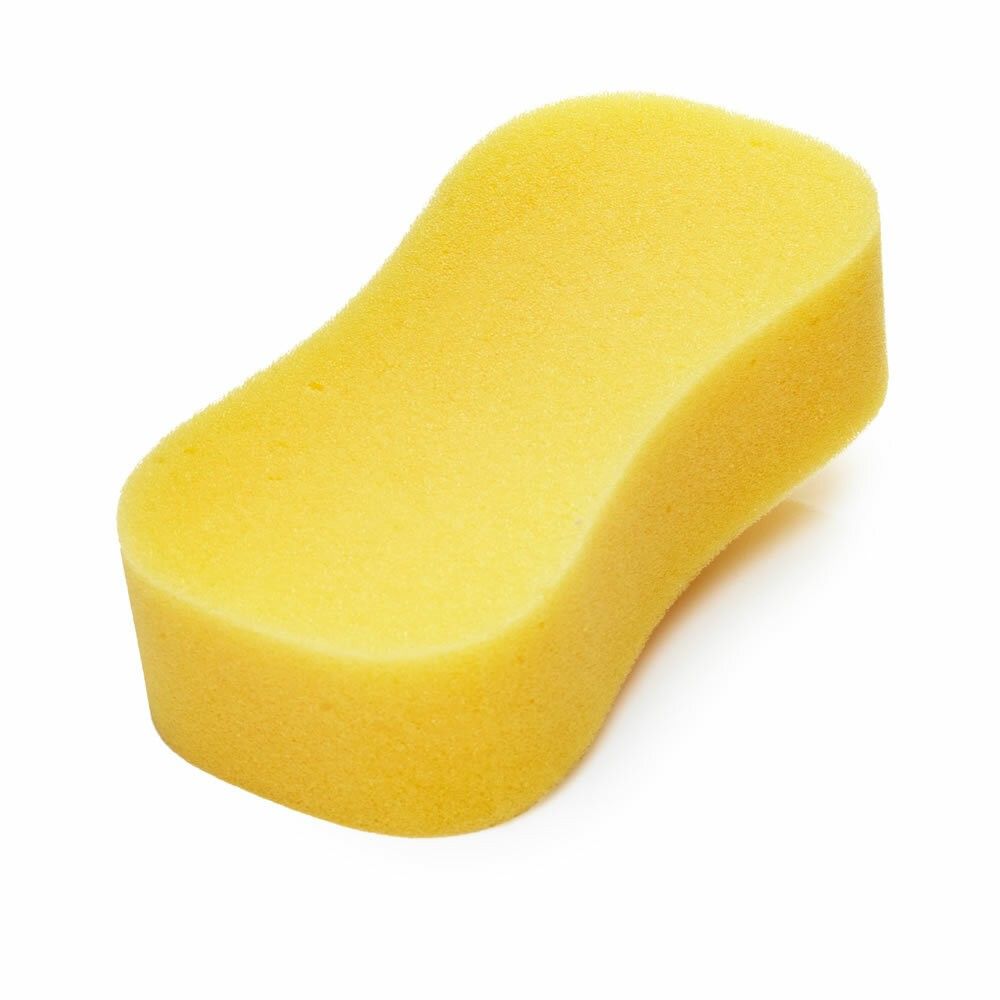
- Spray bottle and sponge - This is for filling with the aforementioned solution and applying to your walls.
- Bucket - Fill your bucket with clean water – you’ll need to rinse your walls after removing all the old paper.
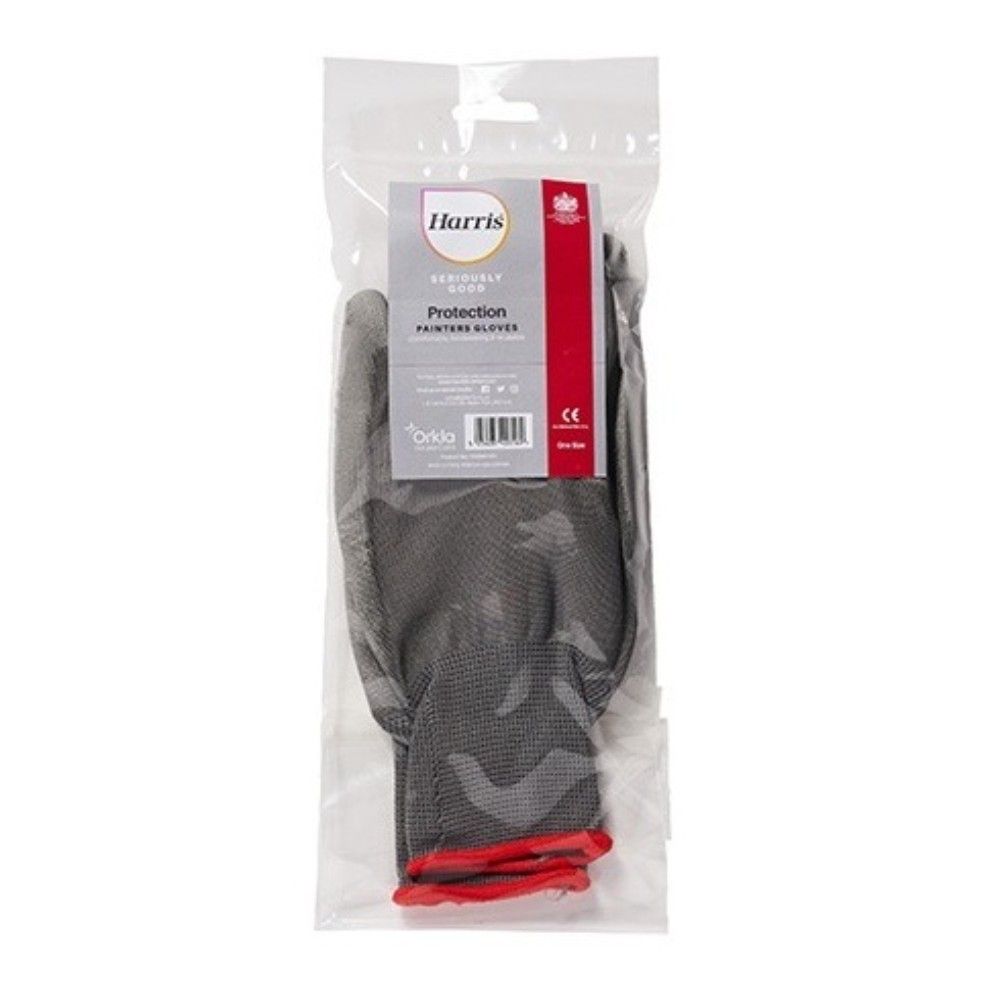
- Gloves and goggles - Make sure to invest in some decent safety gear if you want to keep your hands and eyes protected from any contact with harsh chemicals.
- Step ladder - If your walls are very high (or you’re very short), you might need to enlist the assistance of a step ladder to help you reach those top corners.
Steps to Remove Your Old Wallpaper
Prep The Room
Before you do anything, make sure the room you’re working with is fully prepped. Start by clearing out all the furniture, taking down any decorations, and, most importantly, making sure there are no electricals still plugged into your outlets, as these will soon be exposed to water.
Next, get your plastic sheeting, or whatever kind of covering you have to hand, and lay it down to protect every inch of your floor.
Test It Out
Before you get going with the entire room, it’s a good idea to test out your method and remover solution on a small patch of wall first. Not only will this give you a chance to practise and get the hang of what you’re doing, but you’ll be able to check whether there’s any damage to the wall beneath once you start removing the unwanted paper. This can happen from time to time, especially in older houses.
Locate a small area that you don’t mind designating the role of guinea pig to, and give the next few steps a go with just this spot before moving onto the rest of the room.
Start With a Corner
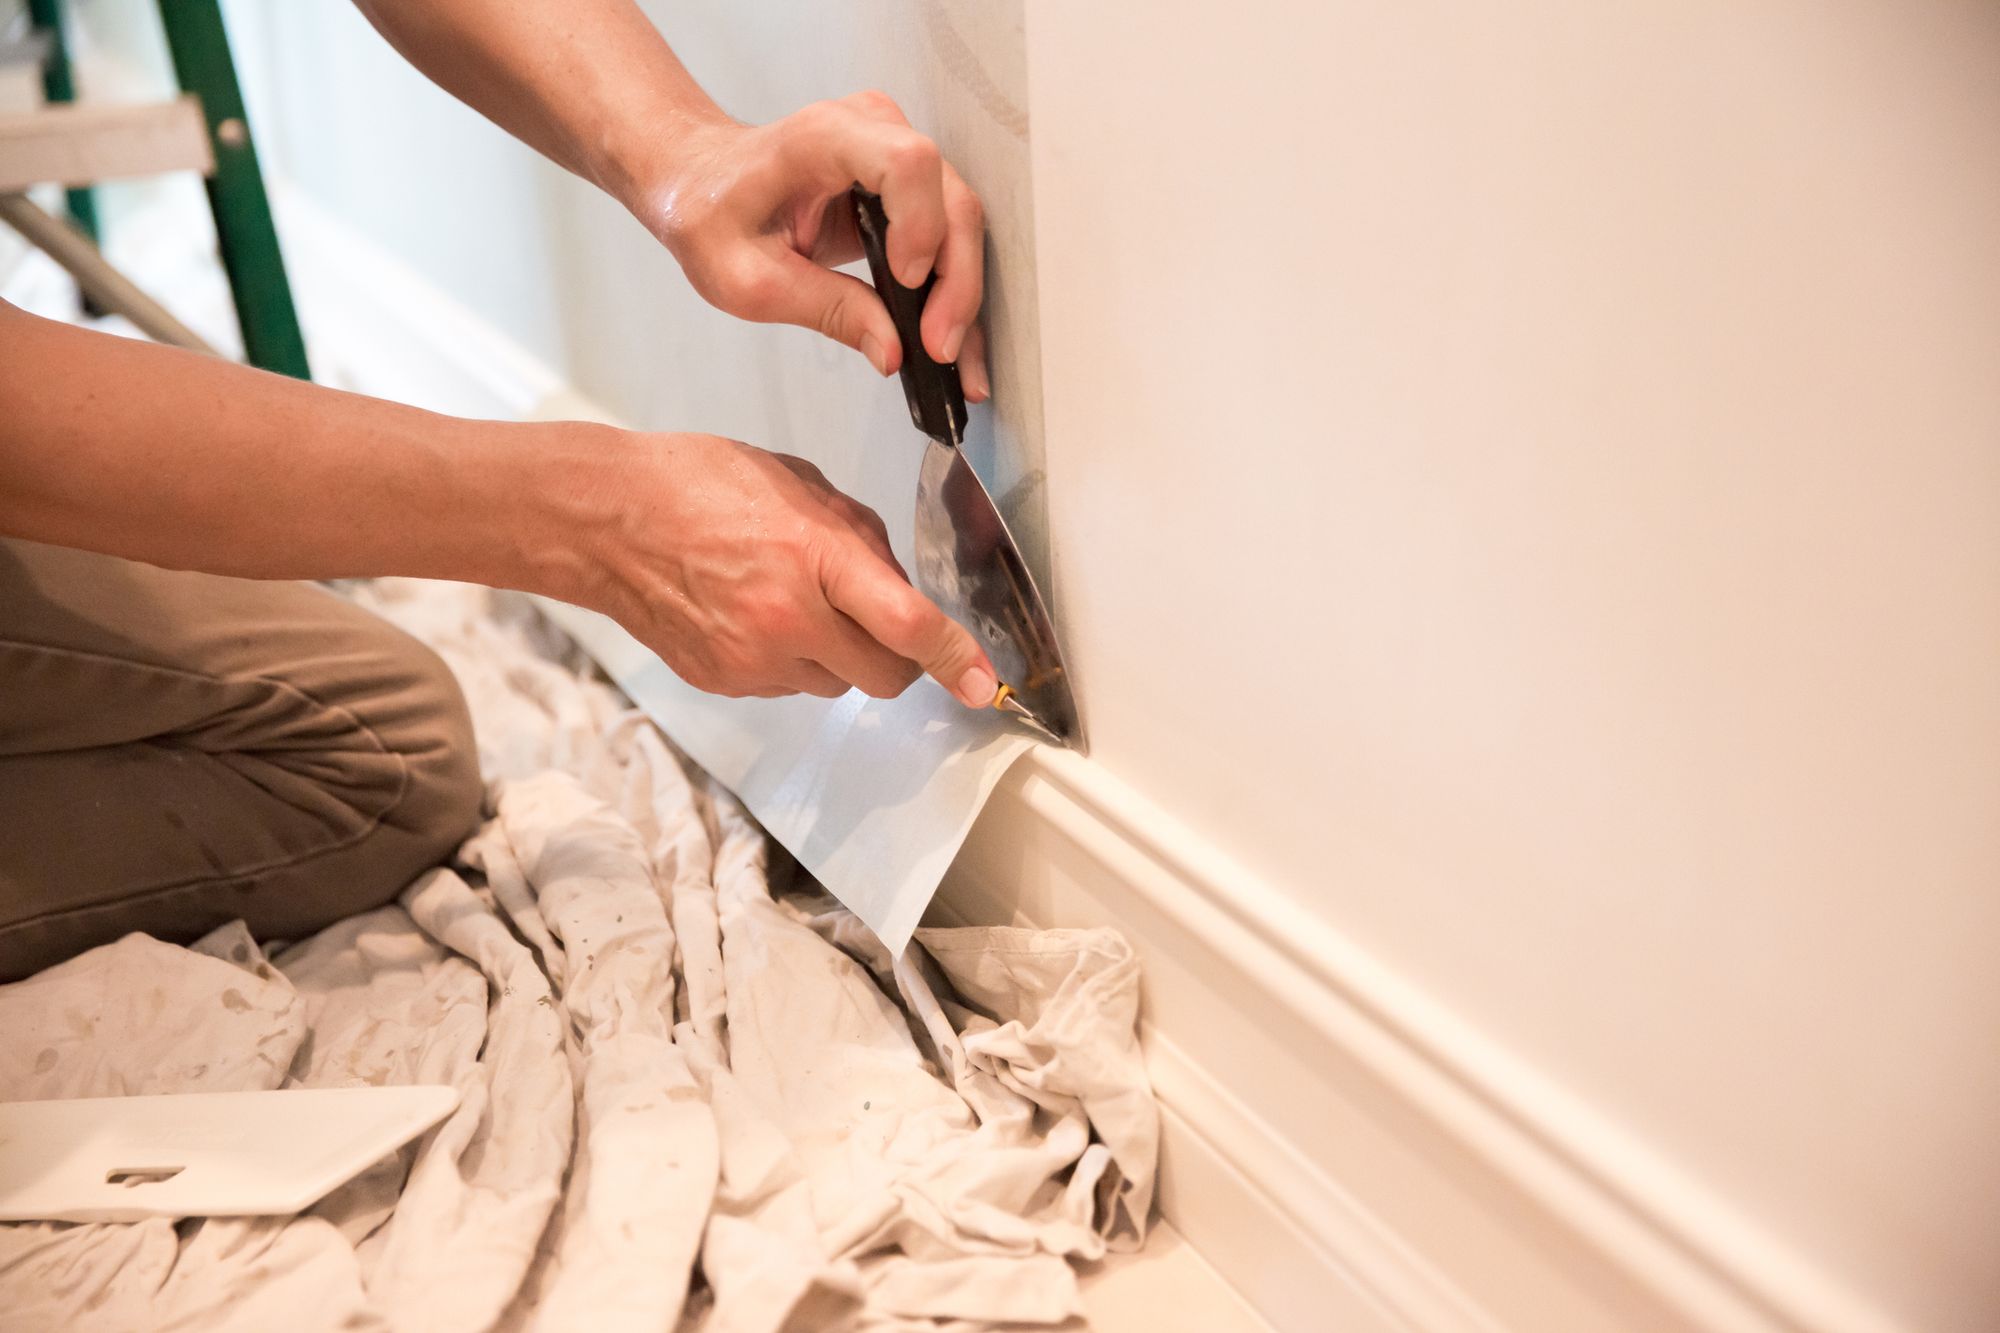
A must for a swift and simple removal – find a corner of wallpaper, and start working with that. Get your utility knife or wallpaper scraper, and gently edge it under the corner, then lift up the paper from this point, trying to stick to a 45-degree angle to get the best rip.
Get Peeling
Keep lifting up the corner at an angle, and see how much you can rip off in one clean strip, making sure to remain slow and steady the entire time. If it comes off easily, great – if not, move onto the next step.
Use Your Solution
With your spray bottle at the ready, saturate your walls with your remover solution of choice and gently dab it in with your sponge. Let it sit for a while to fully absorb – if you’re using a store-bought solution, there will usually be timing instructions included that you can refer to when you get to this stage.
Scrape The Wall
This is the fun part. Once the old paper has had enough time to absorb the solution, use your scraper tool to gently scrape it all away, being mindful not to press too hard to avoid any accidental damage to the wall.
Rinse & Repeat
Or, actually, the other way around – keep applying your solution as needed and continue to scrape all the old paper away, until you get to a point where you’re satisfied that all the paper has been removed. Then, get your bucket of clean water and use a fresh sponge or cloth to rinse away any leftover debris, residue, or solution that might have collected on the walls.
Check For Damage
Before you move onto the next stages of redecorating, it’s important to give your walls a once-over to check for any potential damages, tears, or leftover bits of paper that might prove problematic if left unattended to.
If you find any sections that need some TLC, attend to any repairs as soon as possible, making sure to smooth the affected areas down with sandpaper afterwards to ensure a flat surface for your new wallpaper, or paint, to lie on.
Tidy Up
Once you’re all done, all that’s left to do is dispose of your old paper and remove your plastic sheeting. At this point, you can also think about applying a primer to prep your walls for their new makeover.
And you’re done! Although it can seem daunting at first, stripping your walls can be a relatively quick and easy process once you find your rhythm. Go slowly, be patient, and if it all gets a bit too much, just think of how good your next feature wall will look in a few weeks time.
Looking for your next dream wallpaper design to coat your freshly stripped walls with? Have a look at our stunning selection today, or feel free to get in touch with one of our helpful team for more information about how we can help you.
