Wallpapering plug sockets and light switches needn’t fill you with dread. With a little expert guidance you’ll be a wallpapering wizz in next to no time.

Wallpapering tricky spots, such as corners, stairwells or, indeed, wall sockets, can seem a little daunting at first. There’s a lot on the line, and one small mistake could cost time and money. But, don’t fret. With a little expert guidance you’ll be a wallpapering wizz in next to no time.
This speedy guide is designed to provide you with the tips and tricks you’ll need to achieve flawless results.
First Steps and Equipment
First things first, make sure you’re ready for the task at hand. For the best results, you’ll need:
- A craft knife or similar blade
- Wallpaper adhesive
- A wallpaper smoother
- A small roller
- A pasting table
- Your chosen wallpaper
Before you begin wallpapering the section of wall in question, you’ll need to loosen the plug socket or light switch plate. In some instances, it may be necessary to remove the cover entirely. If this is the case, we would recommend employing the services of a certified electrician.
As always, safety is paramount when working in close proximity to any exposed electrics; make sure you turn off the power before you start. Whether it’s a diluted paste or a splash of paint, we needn’t detail the risks associated with liquid and electricity.
Hanging
With your socket(s) loosened, it’s time to hang your wallpaper. If you’ve reached this point, we’d bet you’ve already hung a length or two in your time. If not, here’s a quick refresher. You’ll find a detailed, step-by-step guide here.
Step 1: Cleaning
As always, solid foundations are key to great results. Start by cleaning the area you wish to cover using a damp cloth and some light detergent if needed. When working with older walls, it may be necessary to sand and fill cracks and bumps.
Step 2: Cutting & Pasting
With your wall clean and ready for pasting, it’s time to cut your lengths. Begin by measuring the width and lengths of the area you wish to wallpaper, adding a few extra inches for overlap and trimming. Then, apply a thin layer of wallpaper adhesive. For best results, use a stable, flat surface such as a pasting table.
Step 3: Hanging
Finally, using a corner or predetermined plumb line, align your wallpaper and smooth it down gradually, covering the socket or light switch.
Cutting Around Sockets
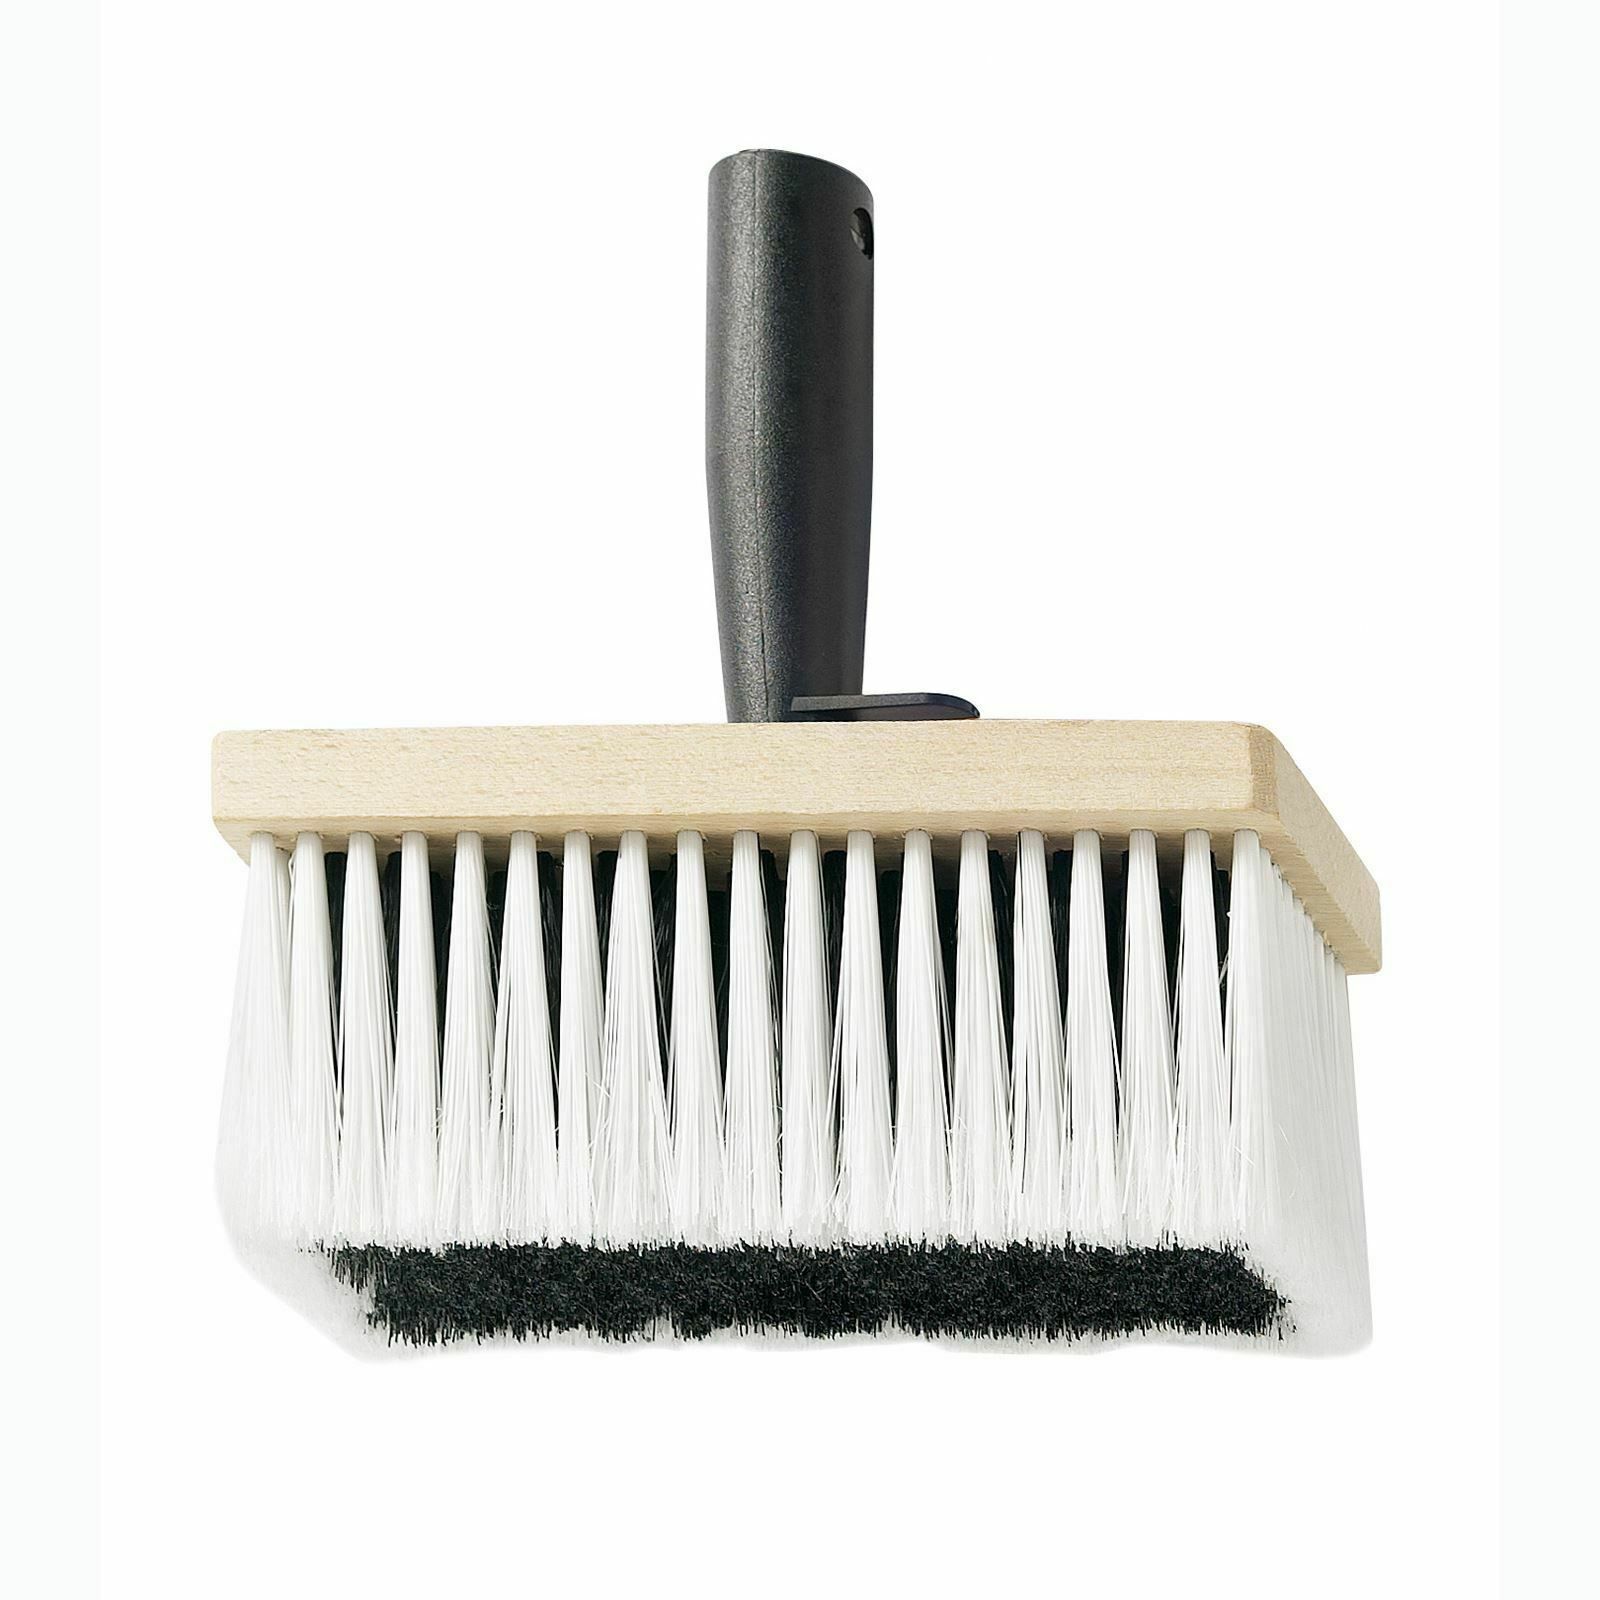
This brings us to the main event; it’s time to cut around your switches and sockets. The positioning of your socket should be pretty obvious, but don’t panic if you can’t quite figure it out. Simply use a brush or roller to accentuate the contours of the fitting, taking care not to rip the paper.
Now, using your previously marked central point as a guide, make an X-shaped incision from each corner of the socket. Then, fold and trim the triangular sections of paper, leaving enough around the edges to tuck behind your socket box when it is reattached. You will be left with a rectangular cutaway.
Tidying Up Wallpaper Edges
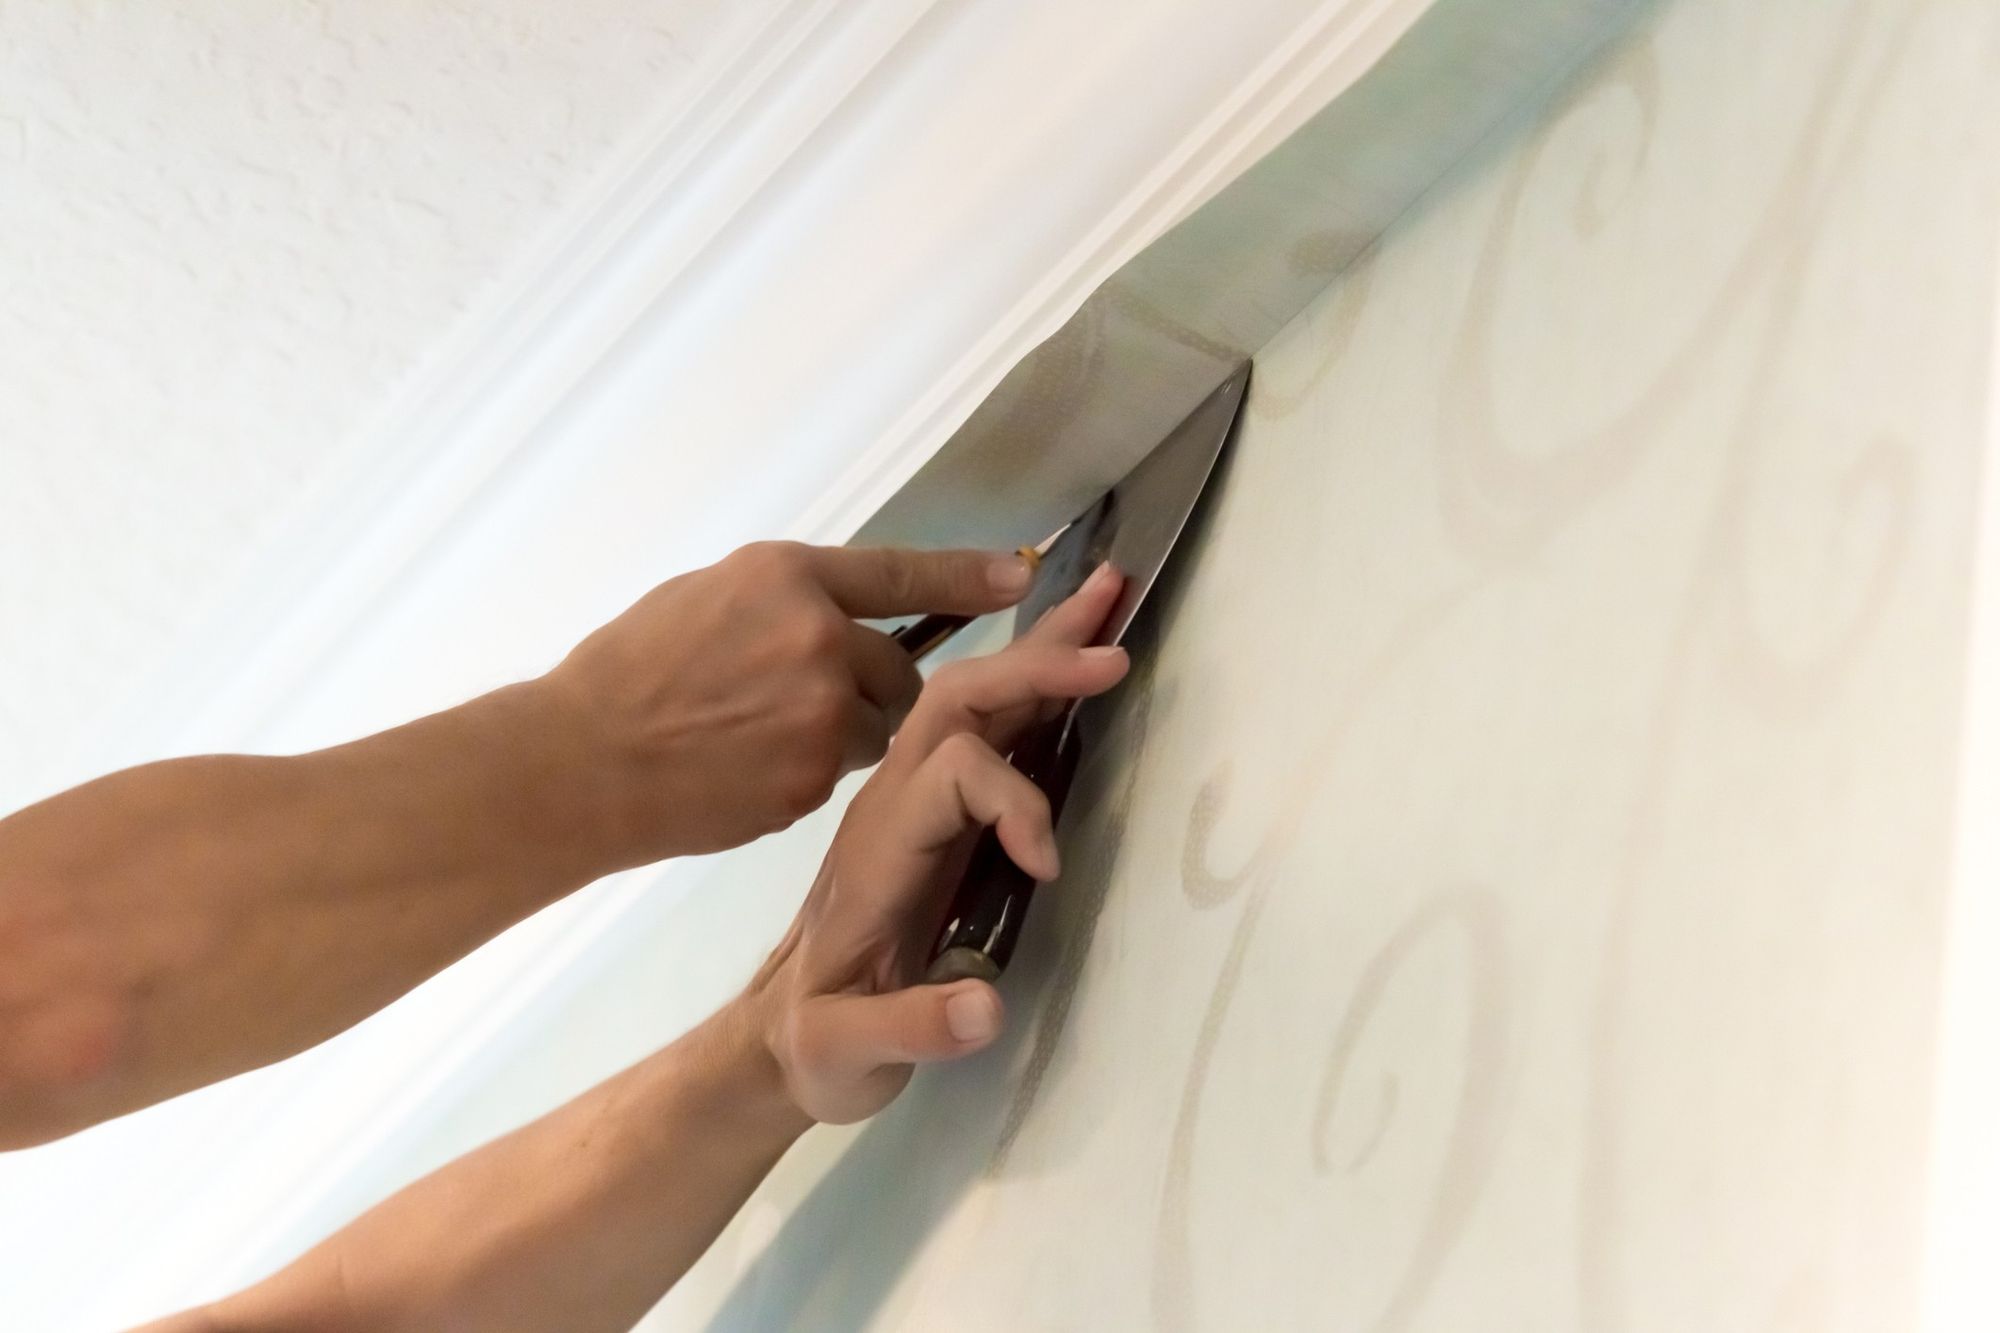
All that is left now is to tidy the edges of your wallpaper and re-fasten your socket. To do so, we recommend using a smoothing tool or corner roller to gently push the overlapping paper behind the loose socket.
Once your paper is neatly tucked away behind your socket, simply re-attach the fitting and wipe away any excess paste.
Job well done!
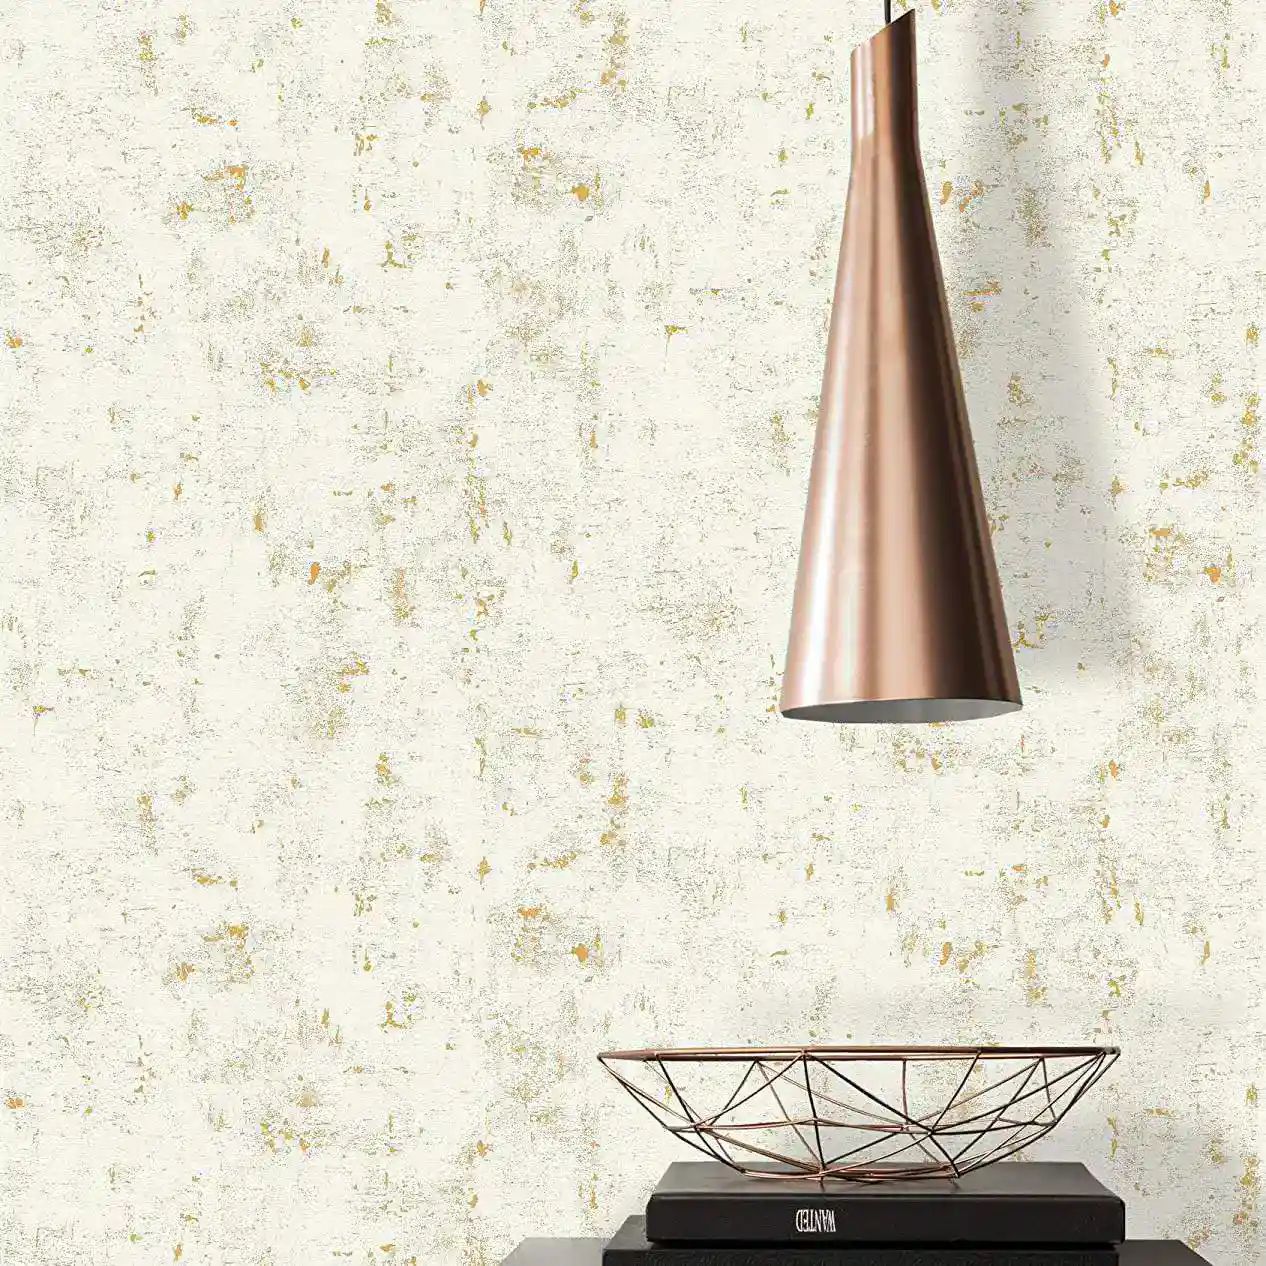
As always, quality results require quality materials. Get in touch or browse our site to discover our selection of designer brands and professional equipment.


